This website is made possible by readers. I may earn a small commission when you buy through the links in this article at no extra cost to you. Learn more.
Details
- Price $74.99 on matadorup.com
- Weight 5.5 oz (155 g)
- Dimensions 11 x 9 x 0.8 in (28 x 22.9 x 2 cm),
Overview
Even though a DSLR is an expensive piece of equipment, I prefer not having to baby it. While I've got a pelican case, it's too bulky to carry all the time. That's why a wrap like the Matador Base Layer is my preferred protection.
As my only camera protection for about three years, I've gone through countless adventures with version 1. I was excited to learn that Matador had upgraded it to version 2.0 and couldn't be happier to finally be able to review it.
Style
While a functional upgrade was a given, the style has been upgraded as well. It finally comes in a clean, beautiful black. The fabric is even throughout, unlike the down-like version 1.
Without question, version 2 looks very classy and will definitely make people think you are serious about your gear and how it looks.
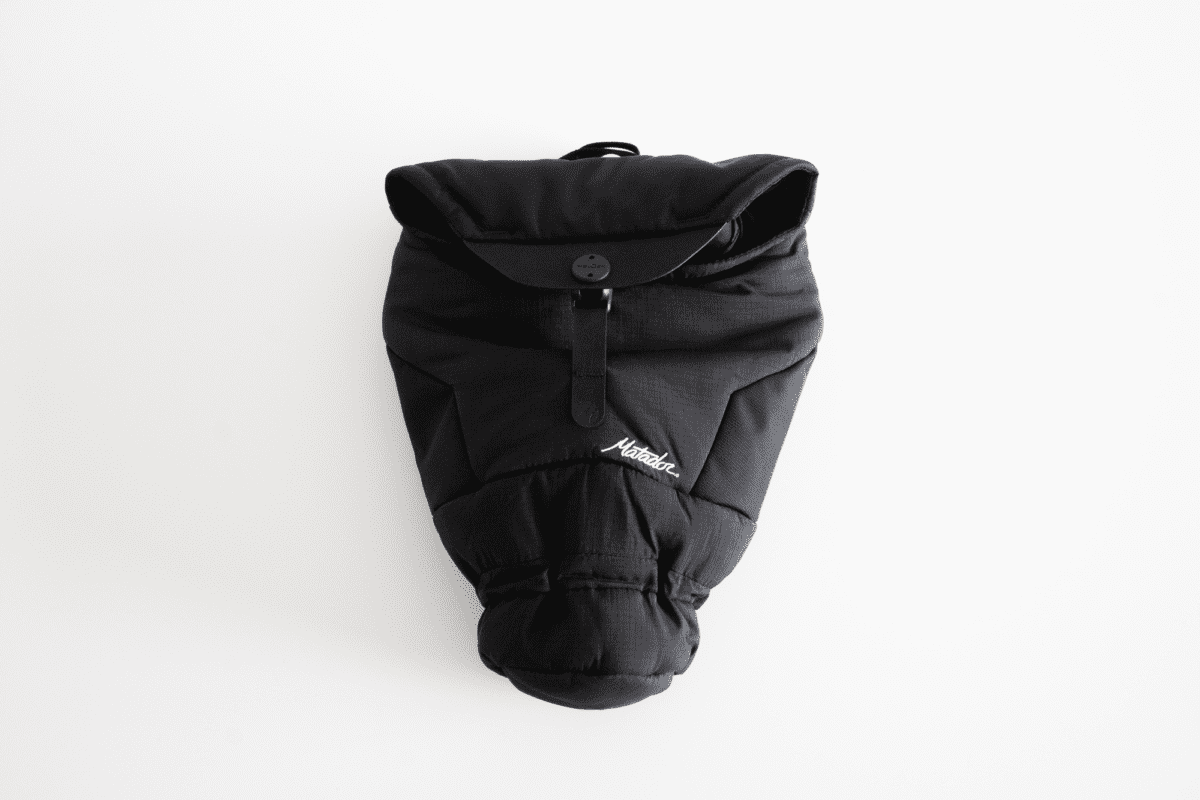
The mix of coated nylon, softshell exterior, and the sealed liner is intricate, although not immediately noticeable. It's only on a second look that you start appreciating the amalgamation of fabrics and techniques that somehow comes together in a refined manner.
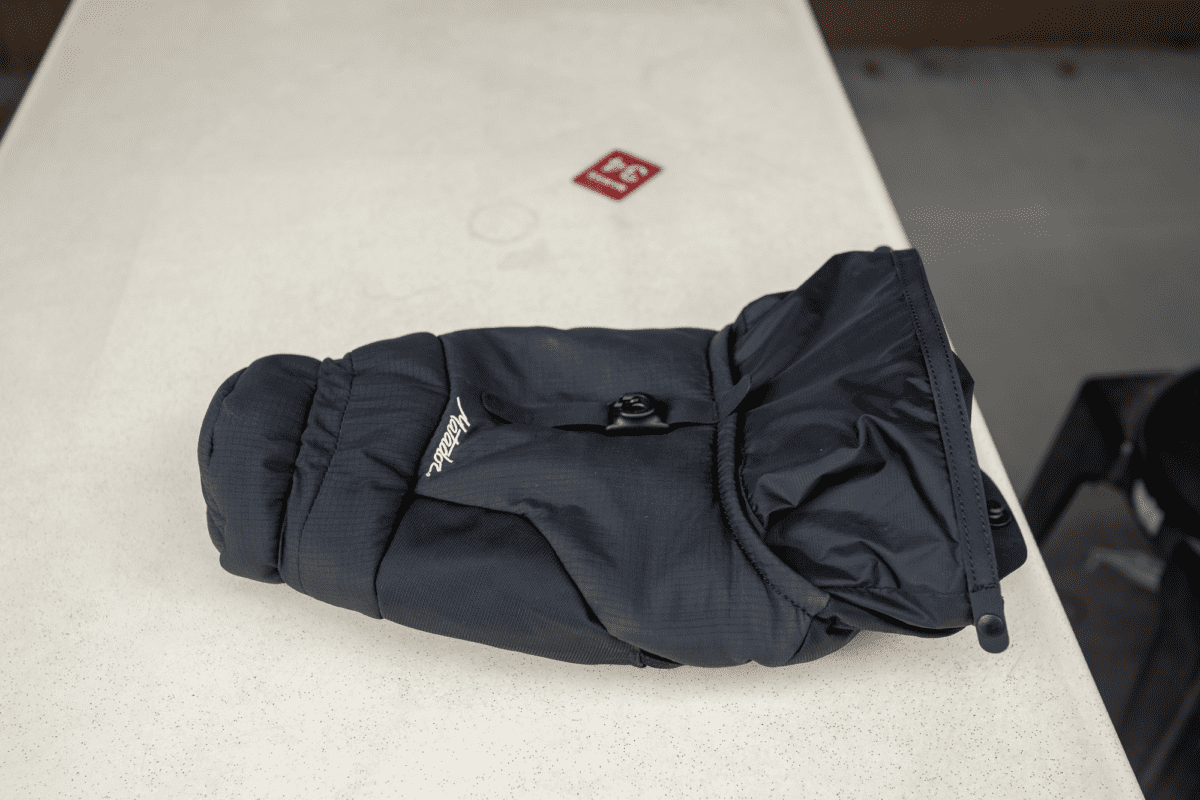
A white, embroidered Matador logo sits on the front. A tasteful black-on-black “M” mark is printed on the tab in the middle. As much as I hate branding, the Matador branding does elevate the look.
Size-wise, it is a roomy, but not loose fit, for my Sony α7R IV and Sony FE 24 mm f/1.4 GM, which is my entire camera setup.
Material
There are three main materials used for the exterior
- 420D Bluesign® PU coated nylon, DWR coating (PFC free)
- 40D softshell exterior
- DWR coating 50D seam-sealed liner, UTS coating
Based on these materials, it looks like the Base Layer was designed to be in a bag most of the time. While the 420D nylon is durable enough to withstand most situations, it does not scream extreme durability as 1000D Cordura GORUCK backpacks do. And I think that's just fine.
I usually have my camera in my bag, and only pull it out and have it hanging around my neck when I am intending to take a series of photos. After which, it goes back into my bag. A camera this size is cumbersome to have on your neck all day around. Even with the best protection, you are likely to accidentally swing your camera against a hard surface and damage it.
This used to be an ad.
But no one likes ads, so I got rid of them. If my articles helped you, I ask for your support so I can continue to provide unbiased reviews and recommendations. Every cent donated through Patreon will go into improving the quality of this site.
Usage
While the original Base Layer did its job, there was definitely room for improvement. It was a little thin, for one. It felt like the screen film on your phone as opposed to a phone case. It will protect your camera from light impact and scratches but it's over if you drop it. I always had to be careful to have it on the top when in my backpack so I won't accidentally break it by dropping my backpack.
I was impressed with how sturdy version 2.0 is. It definitely makes me feel a little more at ease. For better or worst, I am definitely less careful handling my camera.
And that's not all. While version 1 was simply a covering for your camera, version 2 is a full-featured bag with pockets, clips, and drawstrings.
The opening uses a magnetic clasp that you can easily undo with one hand. You only have to pull it down to unlatch it and off you go.
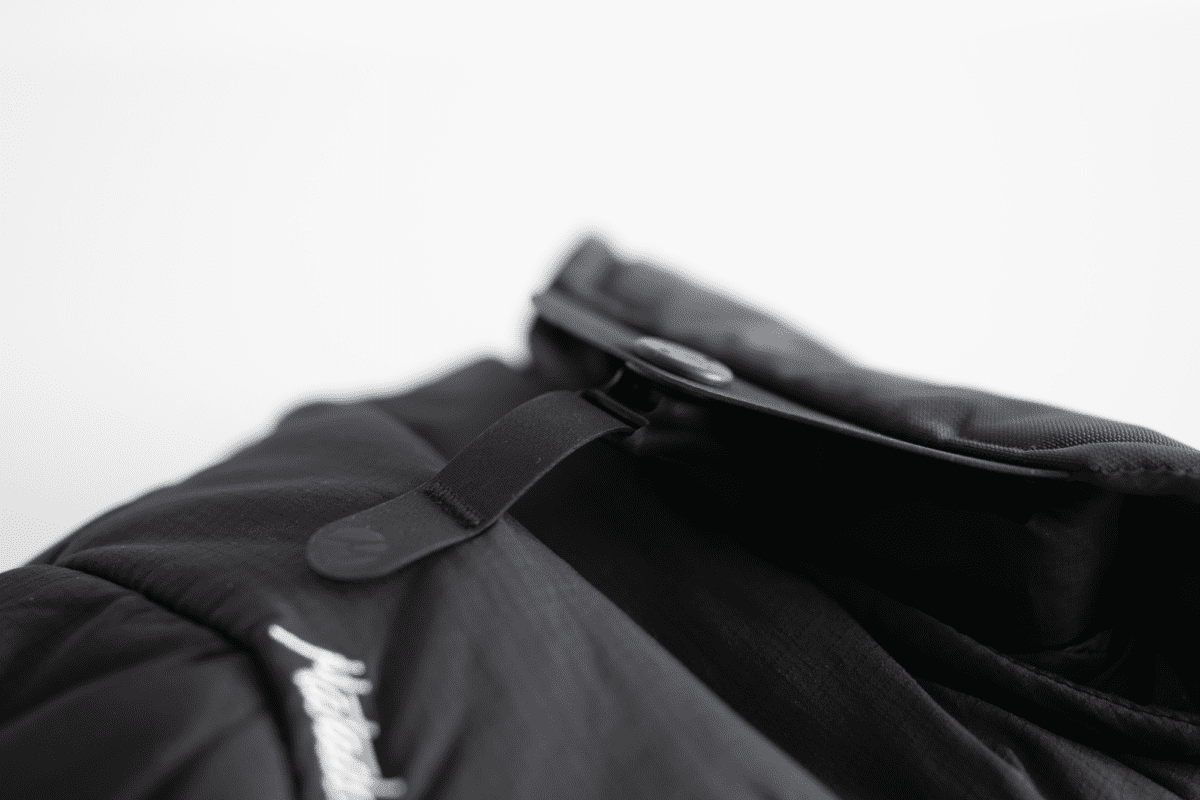
You can secure your camera further with a roll-top mechanism.
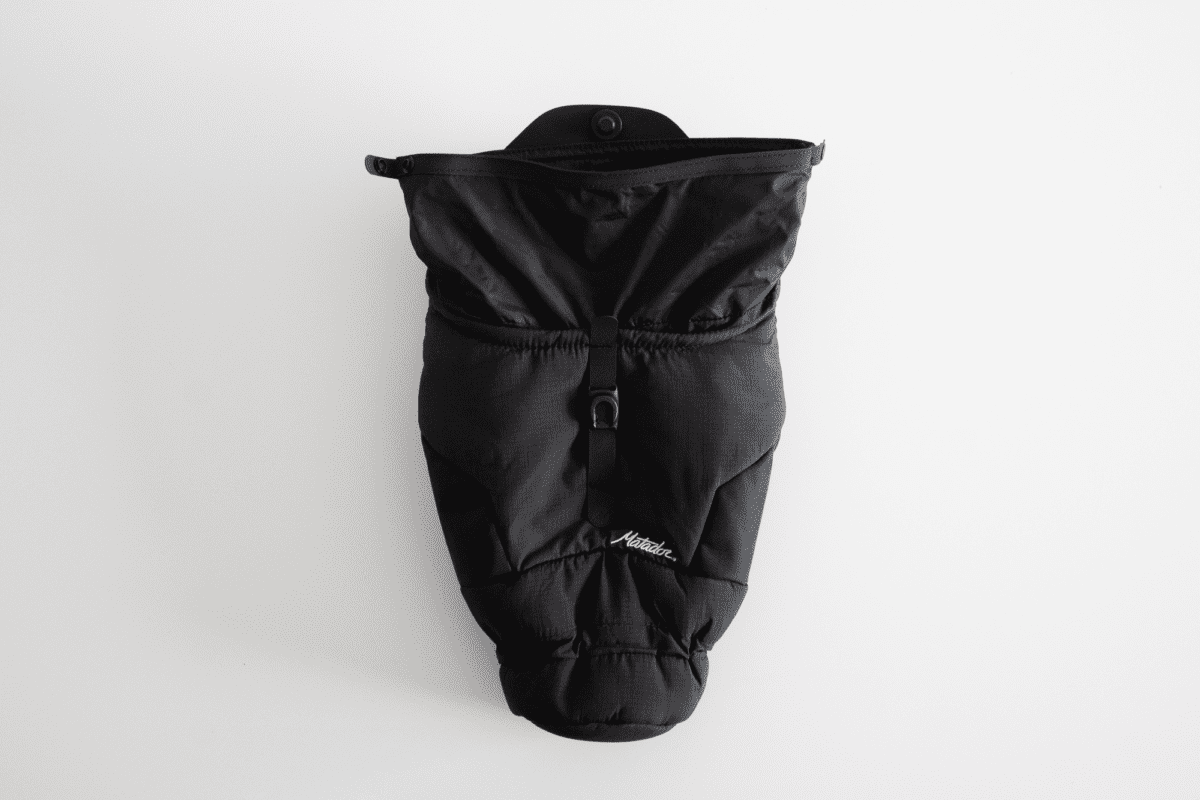
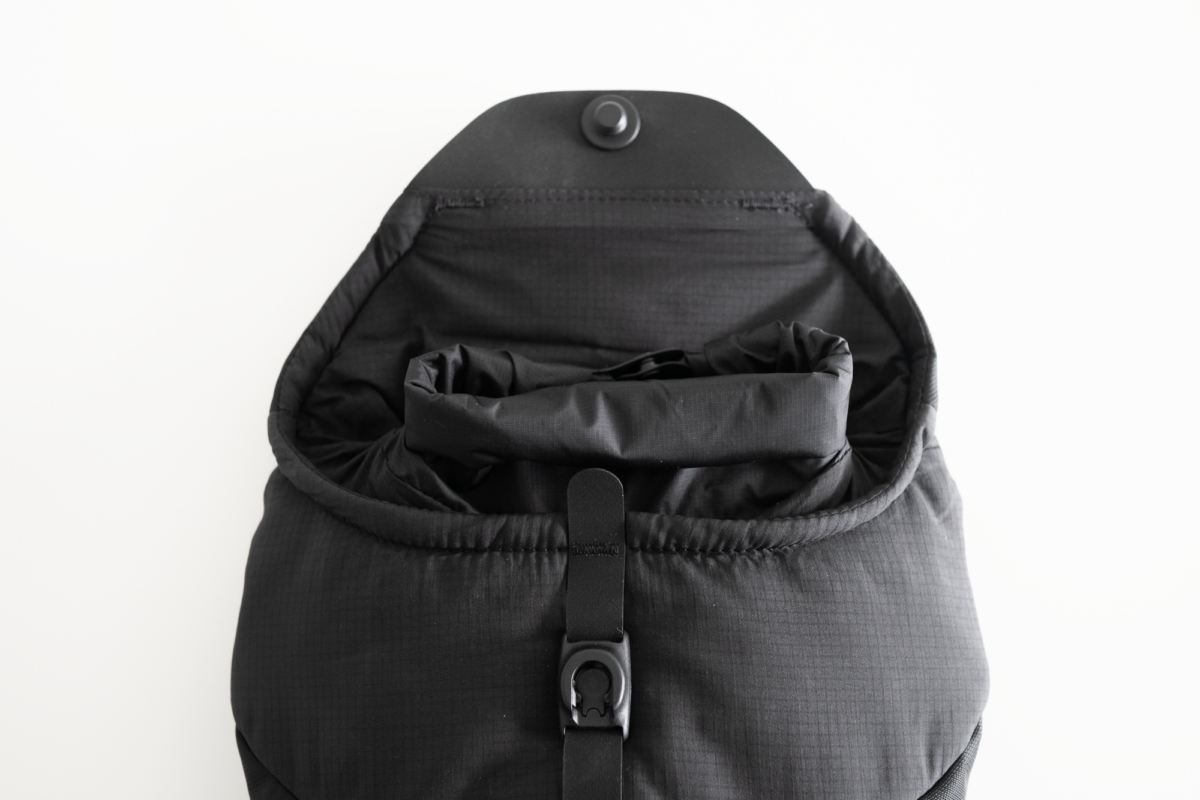
A zipper pocket sits just below the handle. It looks perfect for a lens cap, an extra battery, or SD cards. You can also add hand warmers too to prevent your camera from malfunctioning if you are going to shoot in extreme cold.
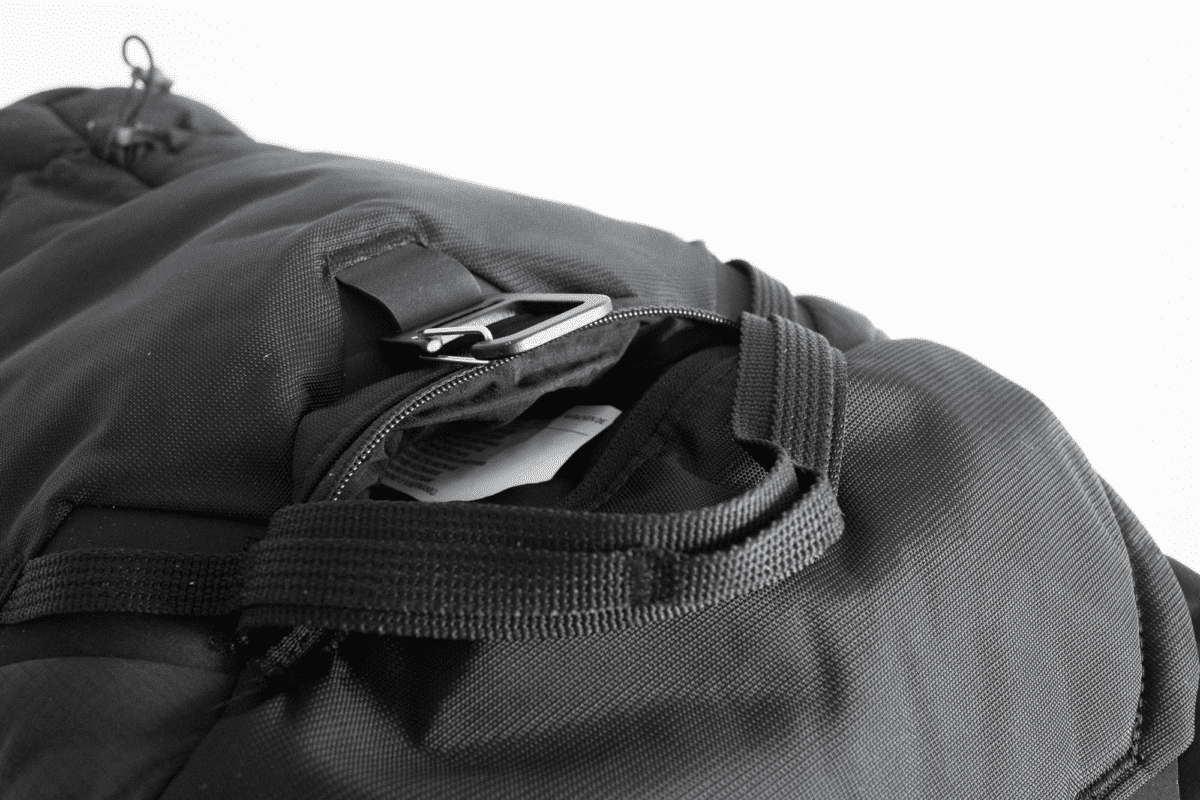
Right below the pocket is a clip that you can attach to your backpack.
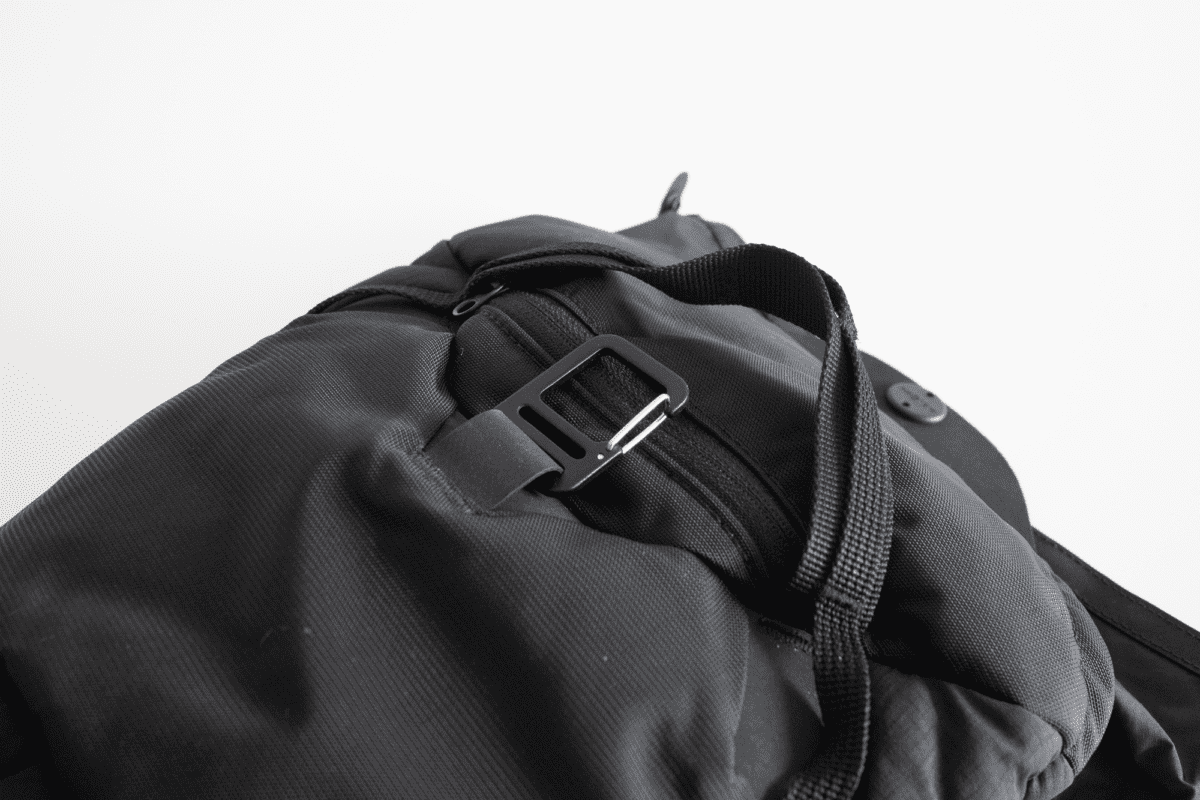
Version 1 had slits on the side that allowed your camera strap to stick out. This allows you to hang your camera strap with it still in the Base Layer. This is still possible with version 2 if you just don't close up the rolltop. This causes the rolltop to stick out on the sides, making for a slightly unclean silhouette.
I designed a thing.
I found a 100 year old company that would create these heirloom quality canisters for me. They are handmade and will keep your tea leaves, coffee beans or anything that you need dry for years to come.
or read review
Besides that, there is little to complain about the features, especially coming from the virtually featureless version 1.
There is a drawstring to tighten the pack around your lens for the optimum fit.
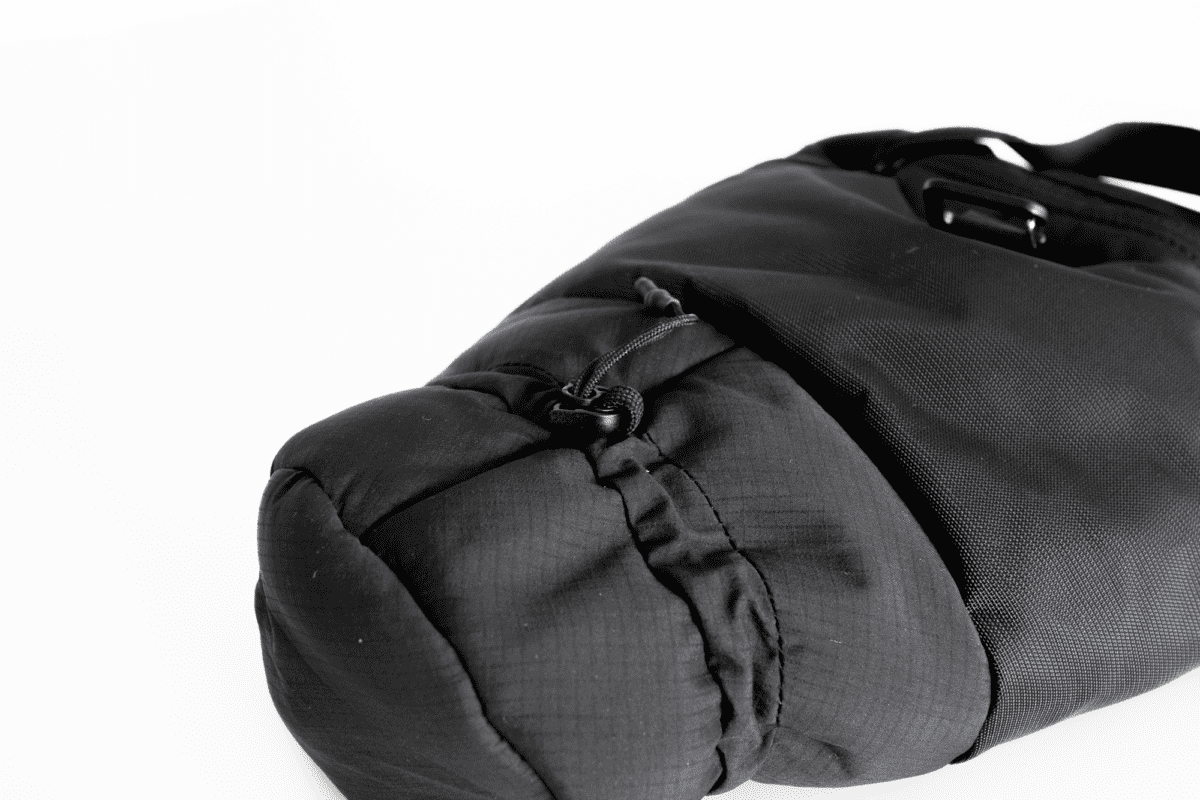
You can also invert the lens part and tighten the drawstring.
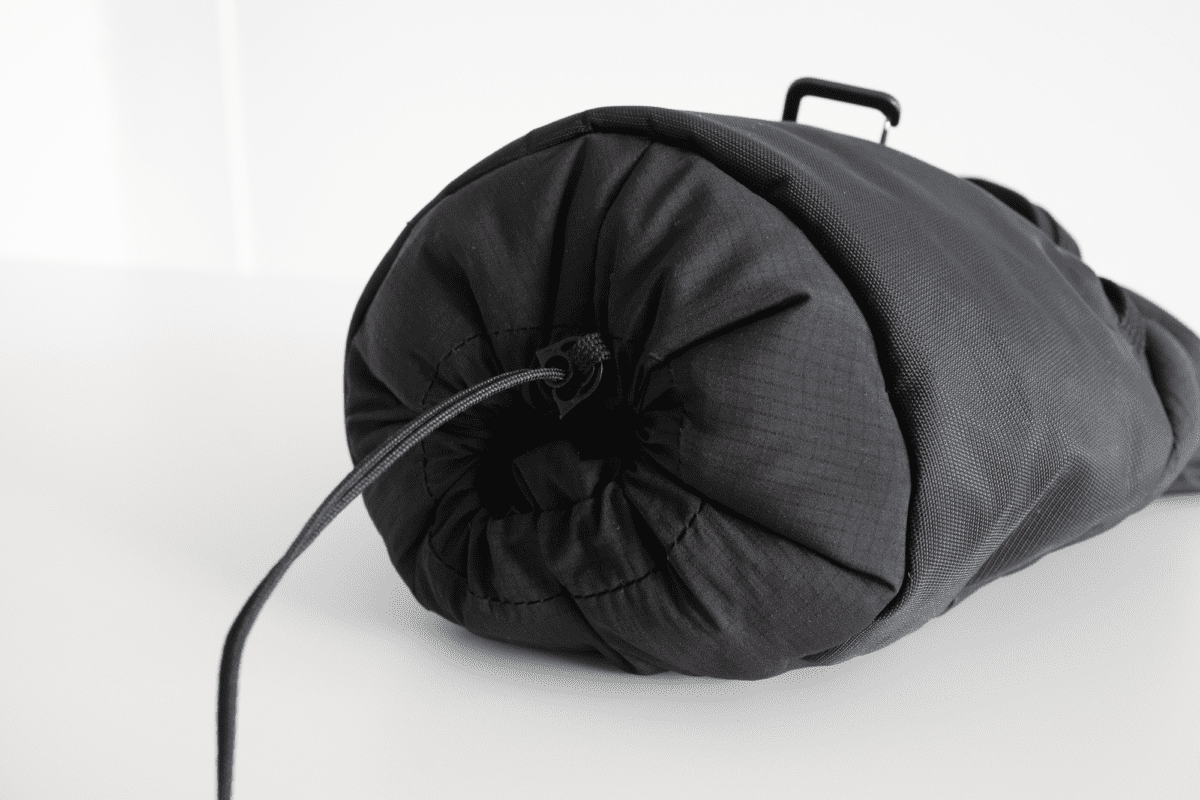
There are 5 loops along the handles for any attachments. I don't personally use these as I imagine those attachments might swing against the camera.
Conclusion
As my only camera protection for many years, I can vouch for the Matador Base Layer. It is not cheap if you think of it only as a protector, but it is really much more than that.
Additional Images
Like this review? See all of my in-depth reviews.
Also, consider supporting me by being a Patreon. Every cent given will go back into improving the content of this website.
Tagged accessory camera matador review water-resistant