This website is made possible by readers. I may earn a small commission when you buy through the links in this article at no extra cost to you. Learn more.
Details
- Price $189.89 on minisopuru.com
- Weight (measured) 368 g / 0.81 lbs (unit only), 523 g / 1.15 lbs (with charger)
- Dimensions (measured) 6.6″ (l) x 4.5″ (w) x 1.0″ (h) / 16.8 (l) x 7.9 (w) x 2.6 (h) cm
Overview
Since I've become completely work from home for a few years now, putting together a capable home office is my top, no expense spared priority. While some may perceive items like a Herman Miller chair, Louis Poulsen lamp, and a USM Haller table as extravagant, I consider them investments and they can be surprisingly affordable when purchased second-hand.
A USB dock is no difference. Admittedly, it is not a necessity. I have two home offices set up, one in Singapore and one in Japan. Since USB docks are much more essential for multiple displays, I got one for a different reason since I don't even use a monitor in Japan.
The reason is that I simply hate plugging and unplugging cables from my laptop. I am on the move quite a bit and take my laptop with me almost everywhere. Having to work those cables each time is just a nightmare. I just want to plug in or out a single cable and call it a day.
I've used adapters like the Satechi Multiport Adapter, to full-on docks like the top-of-the-line Caldigit TS4 and would be making comparisons to them. Will the lazily-named “13-in-1 DisplayLink Laptop Docking Station for MacBook M1/M2/Windows/Chrome OS |DS808”, which I am going to refer to as the Minisopuru Docking Station for short, make the mark? I'll find out.
Style
Recent USB docks follow a standard formula when it comes to design. They adopt the Apple-style aluminum. Some brands, like Satechi, contrast it with black. Minisopuru follows the same route with an aluminum unibody while the face with ports is black.
From the product photography, I thought that the white line markings around each port looked pretty bad and unnecessary, but it looked much more subtle with the product in hand. While the ports on the front were lined up neatly in a single line and evenly spaced, the back was a little less uniform. The HDMI port on the left was slightly lower, and the spacing between each port was different by a small margin.
To most, this wouldn't matter at all, yet I couldn't help comparing it to the Caldigit TS4 which has impeccable layout.
The shape of the unit was also interesting. It had grills on the sides. Grills are typically used to facilitate heat dissipation, so having it on the sides makes little sense to me. Although it is technically possible to balance the unit on its side, it wouldn't make a very stable position.
It is evident that there is only a single position to place the docking station, as indicated by the rubber feet at the bottom.

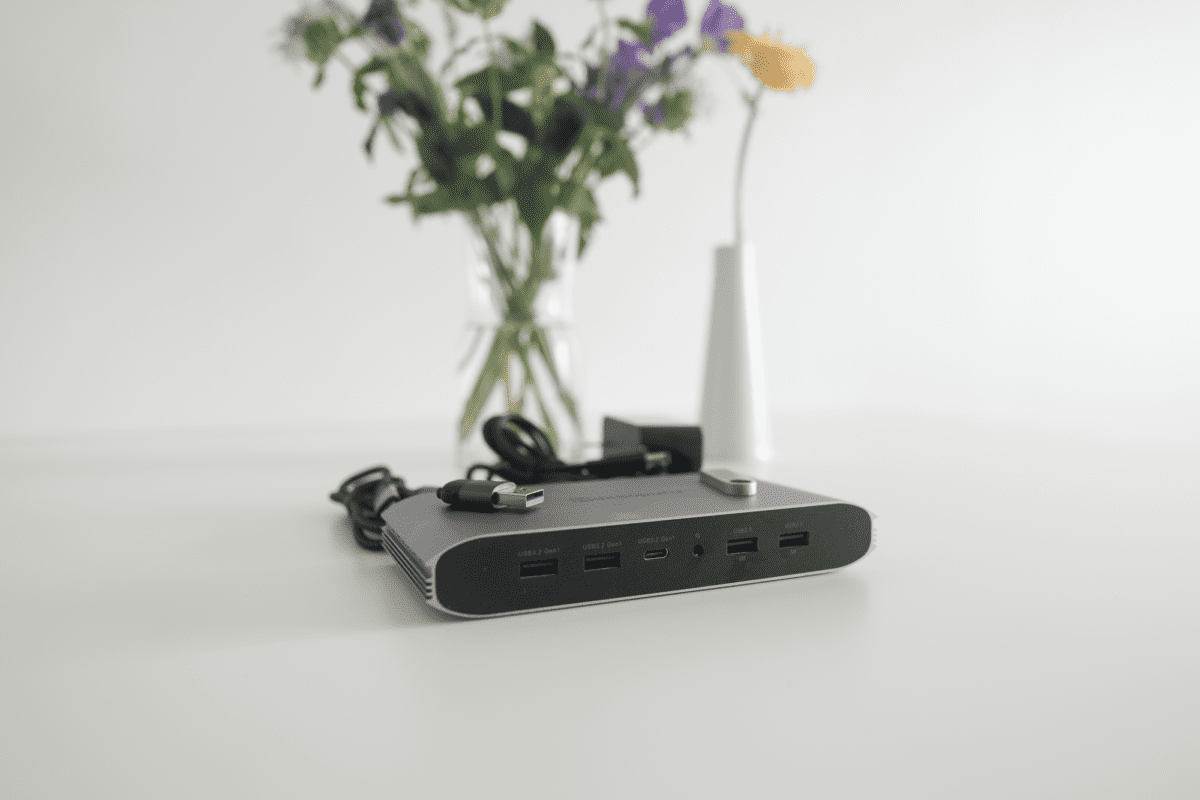
Extras
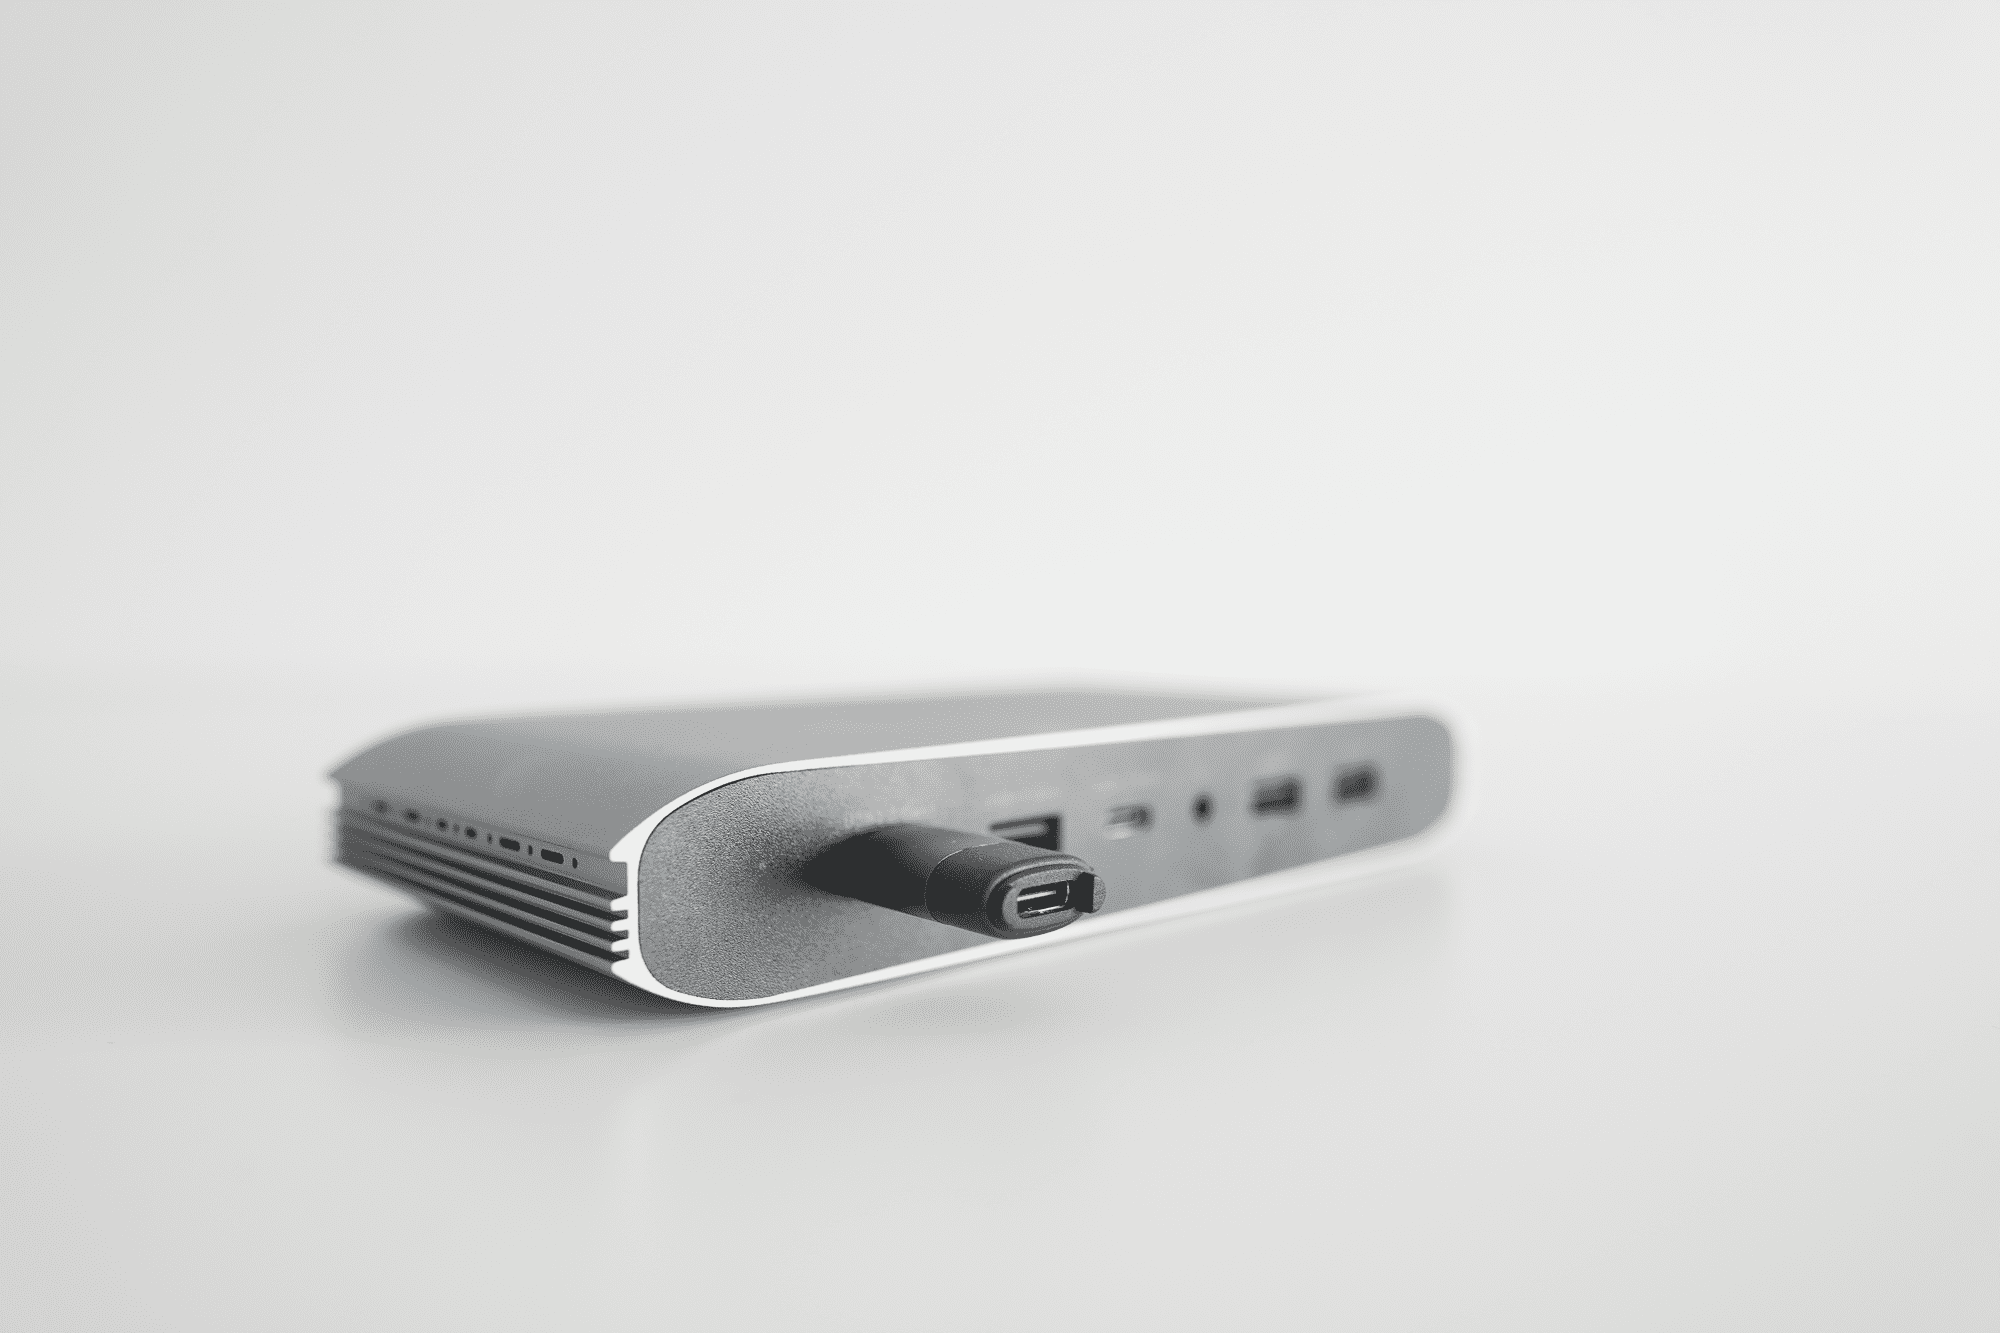
Besides the power adapter, the unit comes with a nylon braided USB C-C 1M cable that I thought looked like the cables that NOMAD has.
This used to be an ad.
But no one likes ads, so I got rid of them. If my articles helped you, I ask for your support so I can continue to provide unbiased reviews and recommendations. Every cent donated through Patreon will go into improving the quality of this site.
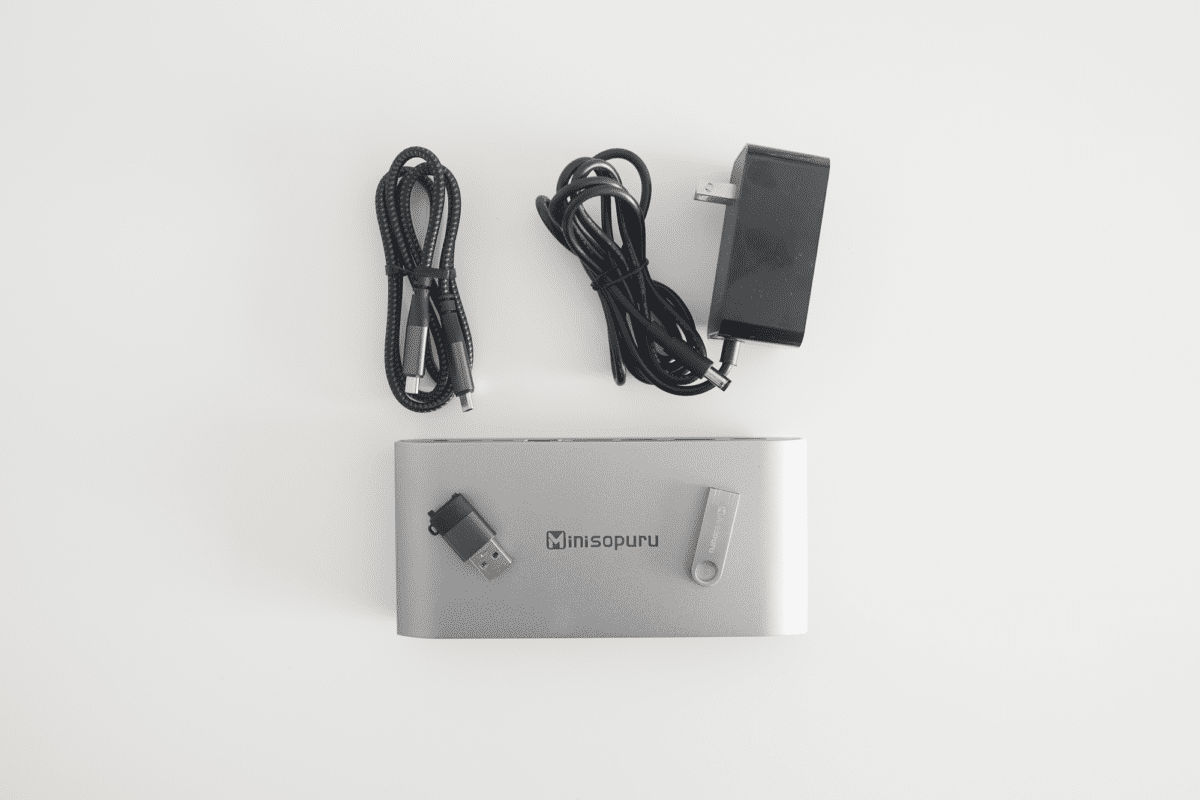
It also comes with a 500MB USB-A thumbdrive in metal that contains all instructions and manuals you need. The thumbdrive itself has an impressive design that I would use as a USB thumbdrive on its own.
Last but not least, given that there is only one USB-C port, a USB A-C converter is included.
Tech
Here are the ports that the Minisopuru Docking Station comes with
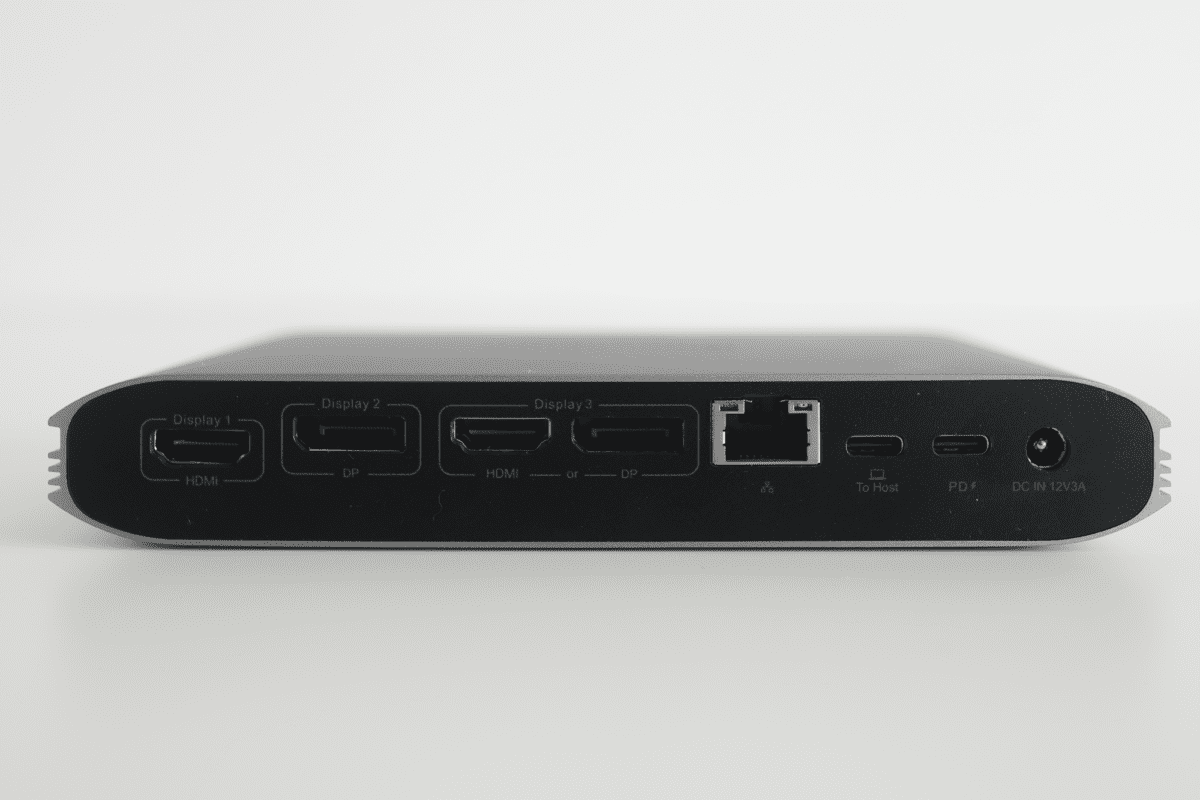
On the back:
- HDMI – For your first monitor
- DP – For your second monitor
- HDMI or DP – For your third monitor
- Ethernet
- To Host – To establish data connection between the docking station and your device
- PD – To power your device via the docking station
- DC IN 12V3A – to power the docking station
On the front:
- USB-A 3.2 Gen1
- USB-A 3.2 Gen1
- USB-C 3.2 Gen1
- Audio jack
- USB-A 2.0
- USB-A 2.0
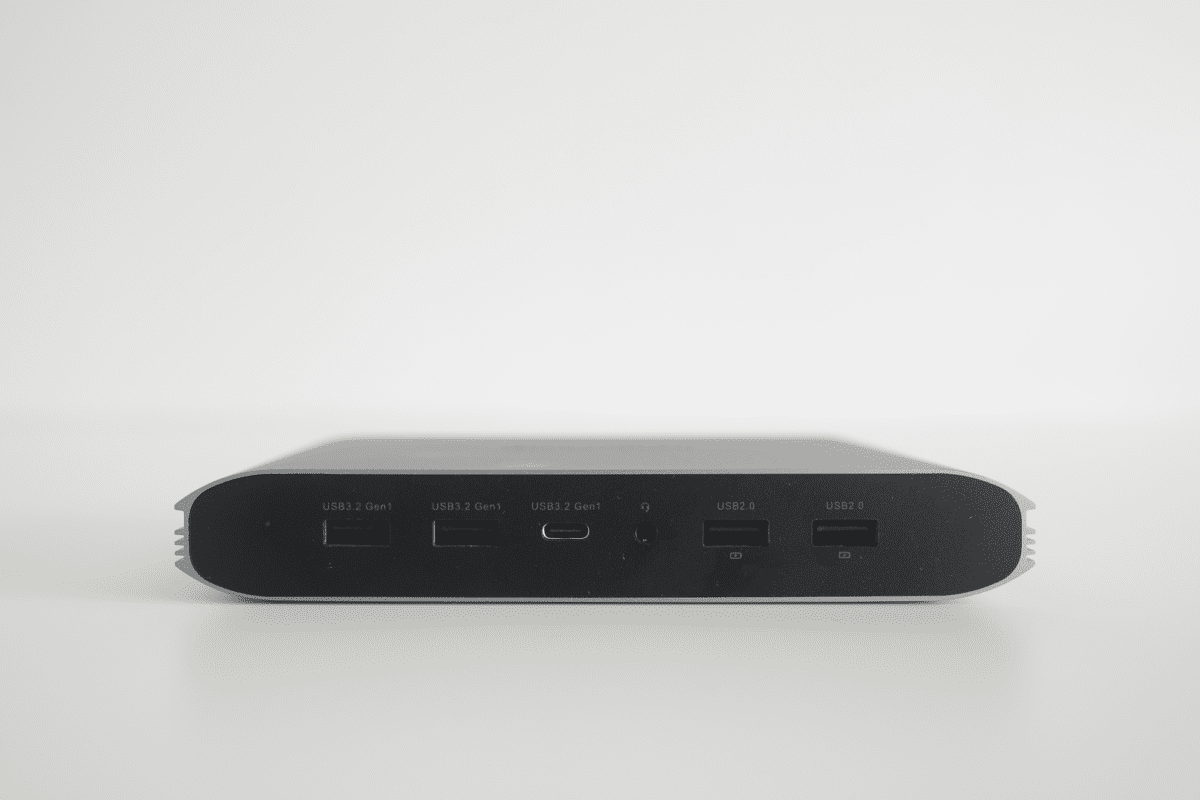
While the USB-A 2.0 might seem pale in comparison to USB-A 3.2 Gen1, they meet the requirements for wired mice and keyboards so you might want to save the other USB ports for usage that requires higher data transfer speeds.
The PD port inputs up to 100W of power. This should work for most unless you are using the Apple 140W USB-C Power Adapter, in which case the docking station would be a bottleneck and limit the output to 100W.
DisplayLink
Officially, M1 Macs only support one external monitors, but DisplayLink offers a way for M1-2 Macs to connect to multiple monitors. However, you have to install the driver, DisplayLink Manager, to enable this feature.
I designed a thing.

I found a 100 year old company that would create these heirloom quality canisters for me. They are handmade and will keep your tea leaves, coffee beans or anything that you need dry for years to come.
or read review
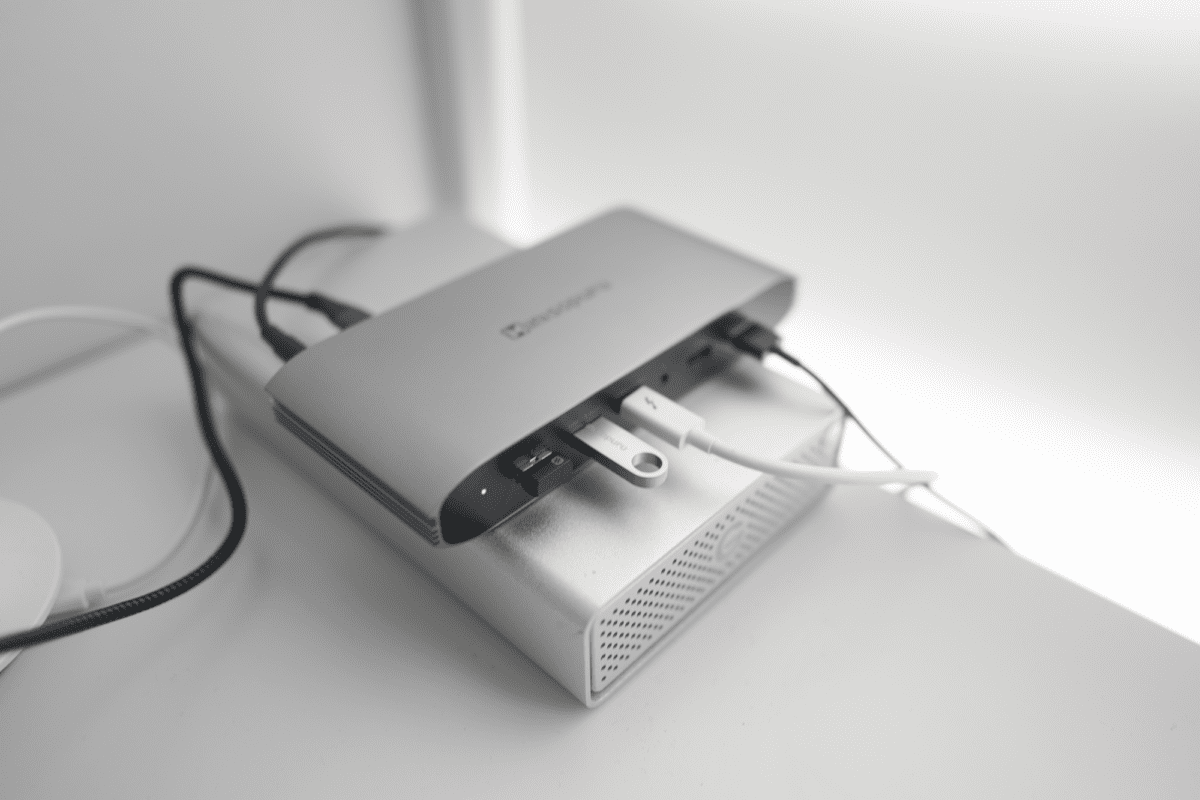
Usage
I set up the docking station and immediately noticed something that I didn't like. In order to connect the docking station and charge your laptop, you need to;
- Connect the docking station to the power outlet via the included power adapter
- Connect your original (Apple) charger and cable to the docking station's PD port
- Connect the docking station to the host laptop via the included USB-C to C cable
This means that you need to “power” the docking station twice just to get the base setup up with your laptop.
Compare this to the Caldigit TS4, where you only need to connect the dock to power and then the dock to your laptop, this is one less connection required. You could then sell your original Apple charger and cable for 100+ if you didn't need it.
However, in exchange, the Minisopuru power adapter didn't come with a giant brick needed to power your laptop.
One thing worth noting is that you can actually use the docking station without powering your laptop if you, for some reason, wants to do that.
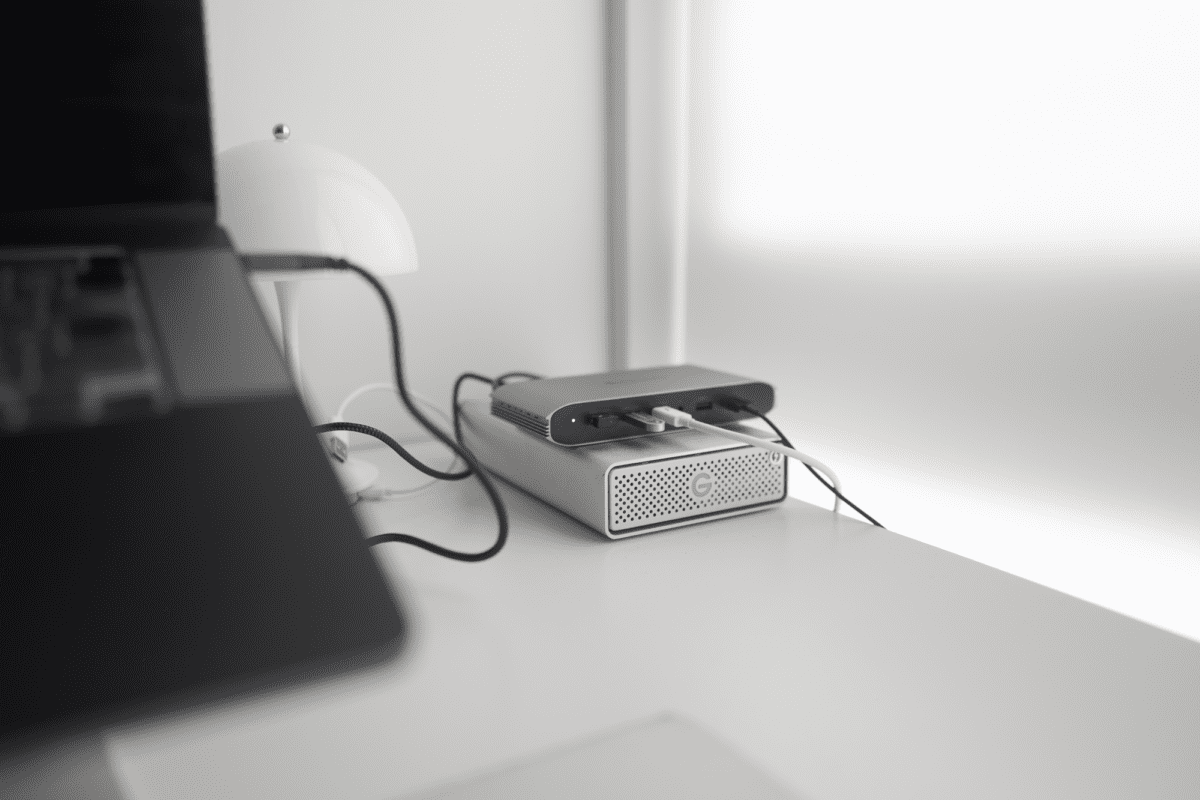
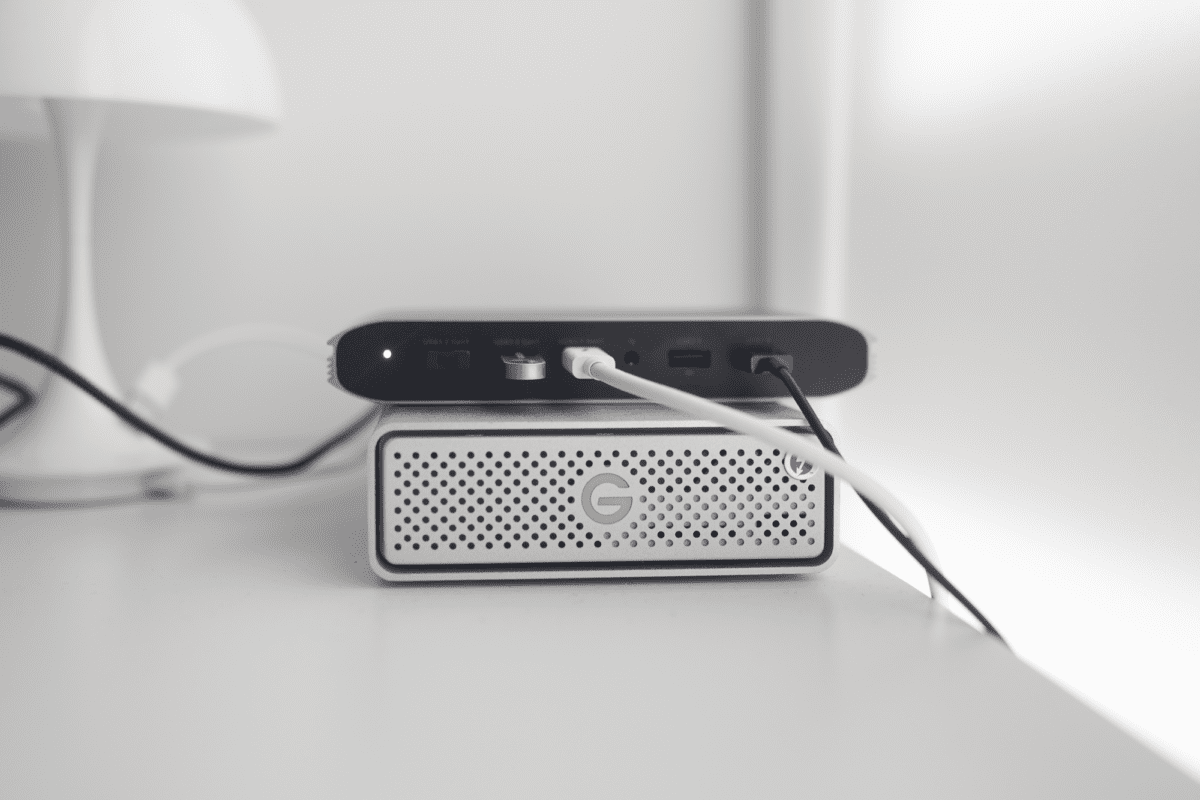
I usually have my Louis Poulsen lamp and G-Drive plugged into the back of my Caldigit TS4 most of the time. I wished Minisopuru would put some USB ports on the back. It offers me a way to leave cables there for when I need to charge, and not be an eyesore. Having something constantly plugged to the ports on the front also gets in the way of accessing the ports to the sides of it.
Apart from these, the rest of the functionality seems pretty straightforward and mostly plug and play.
At the time of review, I was not able to test the display ports but will update this article soon. I read some Amazon reviews that multiple HDMI ports would not work at the same time.
While I do not use multiple monitors, I would be testing my Dell U3223QE Monitor with each of the port when I head back to Singapore and will report my findings then. Stay tuned.
Conclusion
While there are a few details that makes this less desirable than the Caldigit TS4, it also costs less than half the price. For those who don't want to splash $400 on a USB dock, the Minosopuru Docking Station is a great option that probably does everything you will need it to.
Like this review? See all of my in-depth reviews.
Also, consider supporting me by being a Patreon. Every cent given will go back into improving the content of this website.
Tagged minisopuru review tech usb dock