This website is made possible by readers. I may earn a small commission when you buy through the links in this article at no extra cost to you. Learn more.
Back in my elementary school days, the Casio F91W-1 watch was part of my daily carry. Of course, EDC culture did not exist in those days, or at least I wouldn't have known about it without the internet. The Casio F91W-1, or simply referred to in my circles as the Casio watch, was the low-cost, functional watch to get.
It could be nostalgia, but even with high-end watches like the Vaer D7 Watch in my TOM BIHN Travel Tray, I still couldn't resist recently acquiring the Casio watch.
However, since I started wearing only black a few years ago, the Casio F91W-1 didn't come in a black version. This first-world problem was a deal-breaker for me. I searched the internet furiously and found the answer to my mid-life crisis.
I found a shop called Techsas on Etsy that sells all-black faceplates and negative displays to achieve the all-black, stealthy Casio F91W-1 look that I was looking for. This was indeed the Casio mod of Casio mods. While this post has been filed as a minimalism guide, this is very much an exercise in aesthetical minimalism.
Assuming that you would get your hands dirty and do it yourself, there are two items that you need to get from Techsas to achieve this mod; it's the black faceplate and the negative display.
I've seen this video showing that you can replace the film on the LCD with a polarizing one and achieve a similar effect. But the negative displays sold by Techsas are highly affordable, and cutting out the LCD film definitely goes beyond what I would try.
If you are afraid of messing up the install, you can buy the ready-installed version from Techsas as well. Before you get too confident, I'll be sharing my experience installing the two parts, so you'll know what you are in for.

Installing Casio F91W-1 Negative Display
Before you start, here are some tips.
- When you remove something, try it arrange it neatly in order, in the same orientation as when you removed it. It can get confusing which way each component fit.
- Be careful not to lose the little screws! I've found that the back metal plate is a good place to temporarily place the screws.
Here are the installation steps. You should watch the Techsas video for the full tutorial. I will be outlining the process and, more importantly, sharing tips that made each step easier.
- Remove the backplate by unscrewing the four metal screws behind the watch. It would need a small screwdriver for this.
- Remove the black rubber lining using a tweezer.
- There should be a metal spring level towards the bottom. You can grab this and yank the module out.
Put the strap and case aside. You will need to work with this when you are installing the faceplate. - A metal clasp on each of the four corners of the backplate secures the white cover to the main module. You'll need to use quite a bit of force but don't bend the clasp too much, or they won't be able to secure back during assembly.
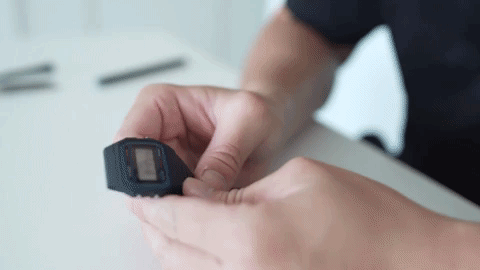
- When removing the circuitry board, you should be left with the white plastic plate with the LED screen. Before removing the LCD screen, you need to remove the black conductive rubber strip with a tweezer.
- From the back of the LCD, pull down on a clasp on the white cover to release the LCD and white backplate.
- Put the negative display in. Remove the protective film of the display. Be very careful as the display scratches easily.
- Once you assemble it all the way up to the metal backplate in step 4, you need to reset the display. To do so, you need to use a metal tweezer and have one end inserted into the second hole from the right on the top and the other end touching the metal backplate. I didn't have a tweezer, and I used two metal screwdrivers instead.
That's all! The next step is to replace the front plate with the black one.
This used to be an ad.
But no one likes ads, so I got rid of them. If my articles helped you, I ask for your support so I can continue to provide unbiased reviews and recommendations. Every cent donated through Patreon will go into improving the quality of this site.
Installing Casio F91W-1 Black Faceplate
Once again, please follow the very well-presented YouTube video by Techsas here. Here are some tips for each of the steps.
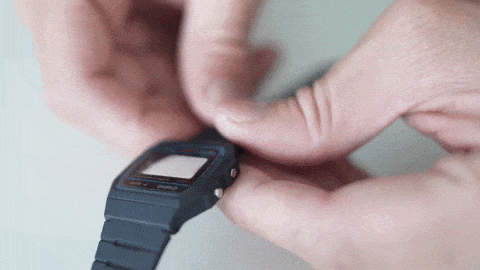
- The first step is possibly the hardest step of this entire process. You have to remove the existing faceplate. This faceplate has been glued in place, and you would have to heat it to loosen the glue. Techsas uses a hot air gun which I didn't have, so I used a hairdryer.
As shown in his video, you need it to heat it enough to be removed cleanly, but not too much that it melts the straps around it.
I heat it for about a total of ten minutes, trying to push the faceplate at 1-minute intervals. It's glued on pretty well. Finally, I was able to remove it but not without snapping the plastic it was on. This was also shown in Techsas video as what would happen if you didn't heat it sufficiently. It wasn't ideal, but not a big deal since that part would be covered by double-sided tape in the next step. - The next steps required you to lay the included double-sided tape on the plastic. I would advise you to peel off the bottom sheet, lay it on the plastic, and make sure it is in place before peeling off the top sheet to place the faceplate.
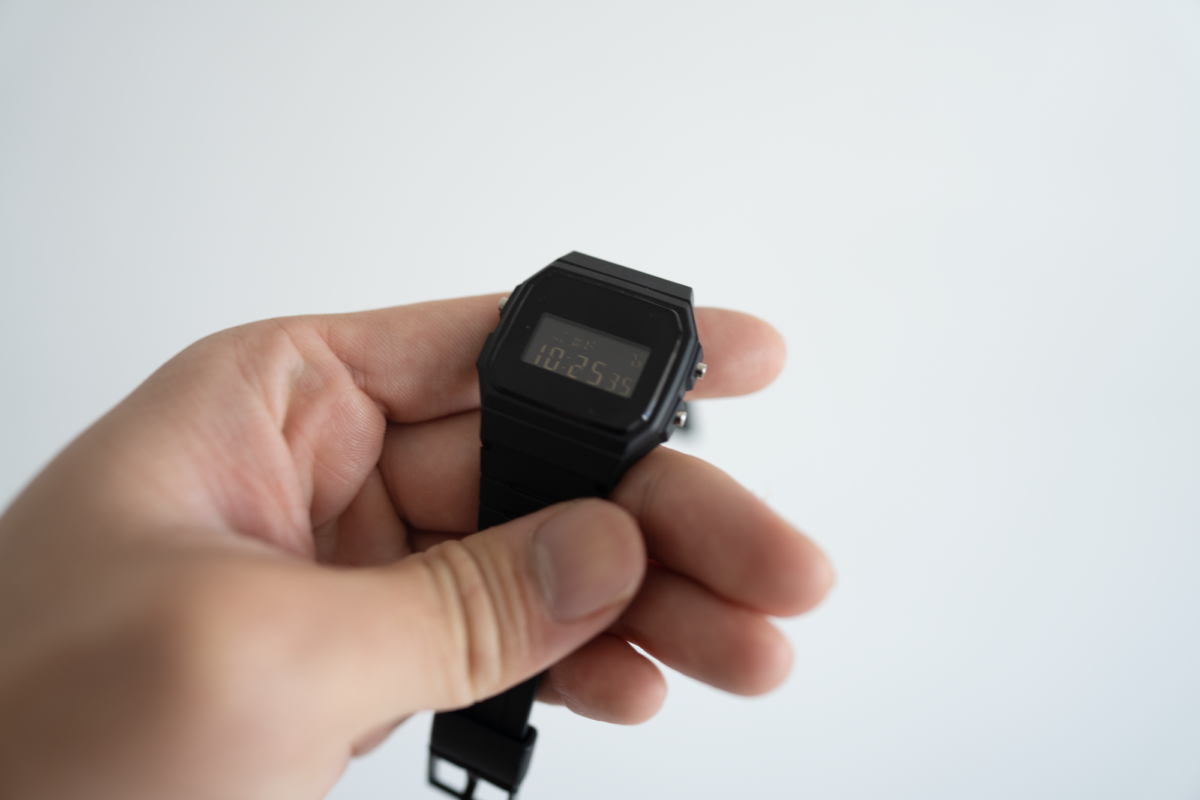
- Once you line up the replacement faceplate and put the watch back together, you want to apply pressure to it. I put something heavy on top of it for a few hours. I recommend that you put a microfiber cloth on top of the faceplate before putting something on it as it is prone to scratches.
I did find some marks on the plate that I couldn't wipe off and replaced it with another one. If you are not sure, it's always best to get a few for future replacement. They were very cheap anyway.
You'll also notice that the faceplate is not flushed face of the watch like how the original faceplate is. This is largely because of the thickness of the double-sided tape.
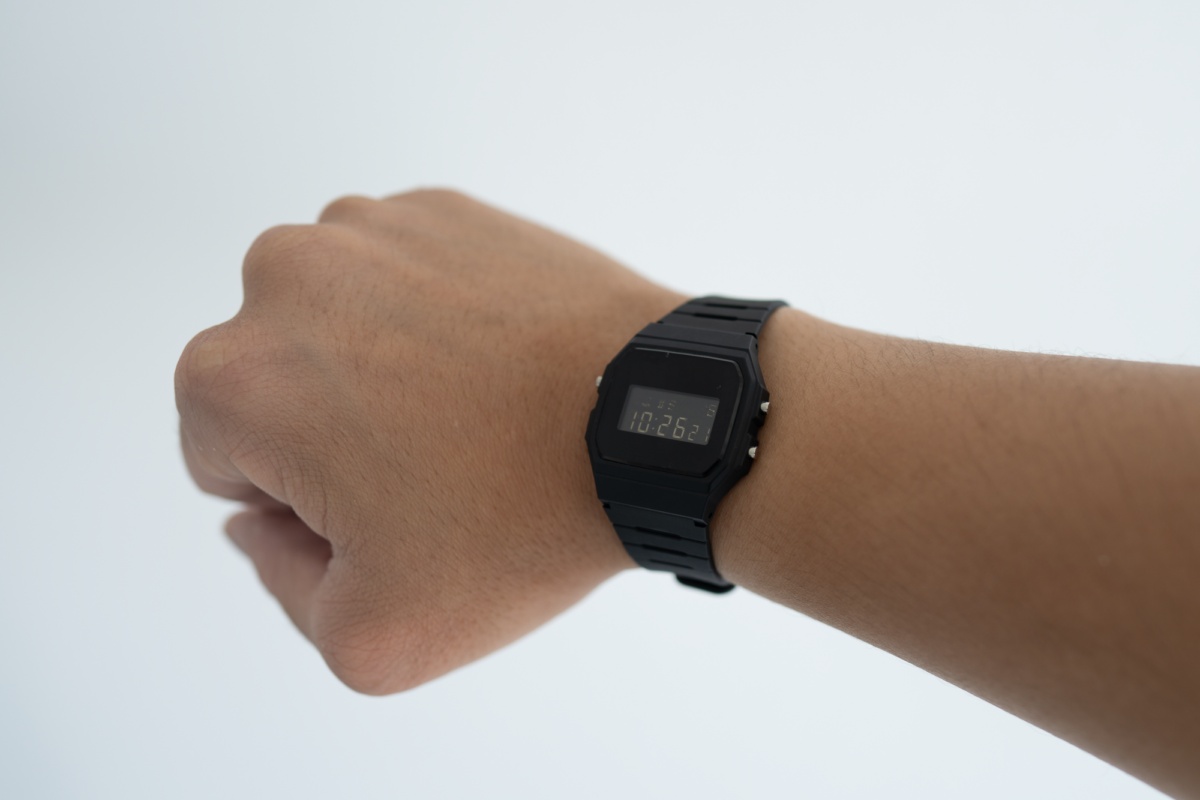
End Results
I am more than happy with the end result—a functional low-cost watch that looks beautiful.
The mod is not without some side effects:
- I am not sure how well the plate will hold up to scratches but at the price, I am not expecting much. It will be cheap to replace anyway.
- The backlight of the watch is horrible as it is, and with the negative display, it becomes practically useless.
With this Casio mod, the aesthetics have definitely been elevated, making it look like a $60-80 watch. Durability-wise, only time will tell. I will be updating this post then.
Tagged casio guide minimalism mod watch