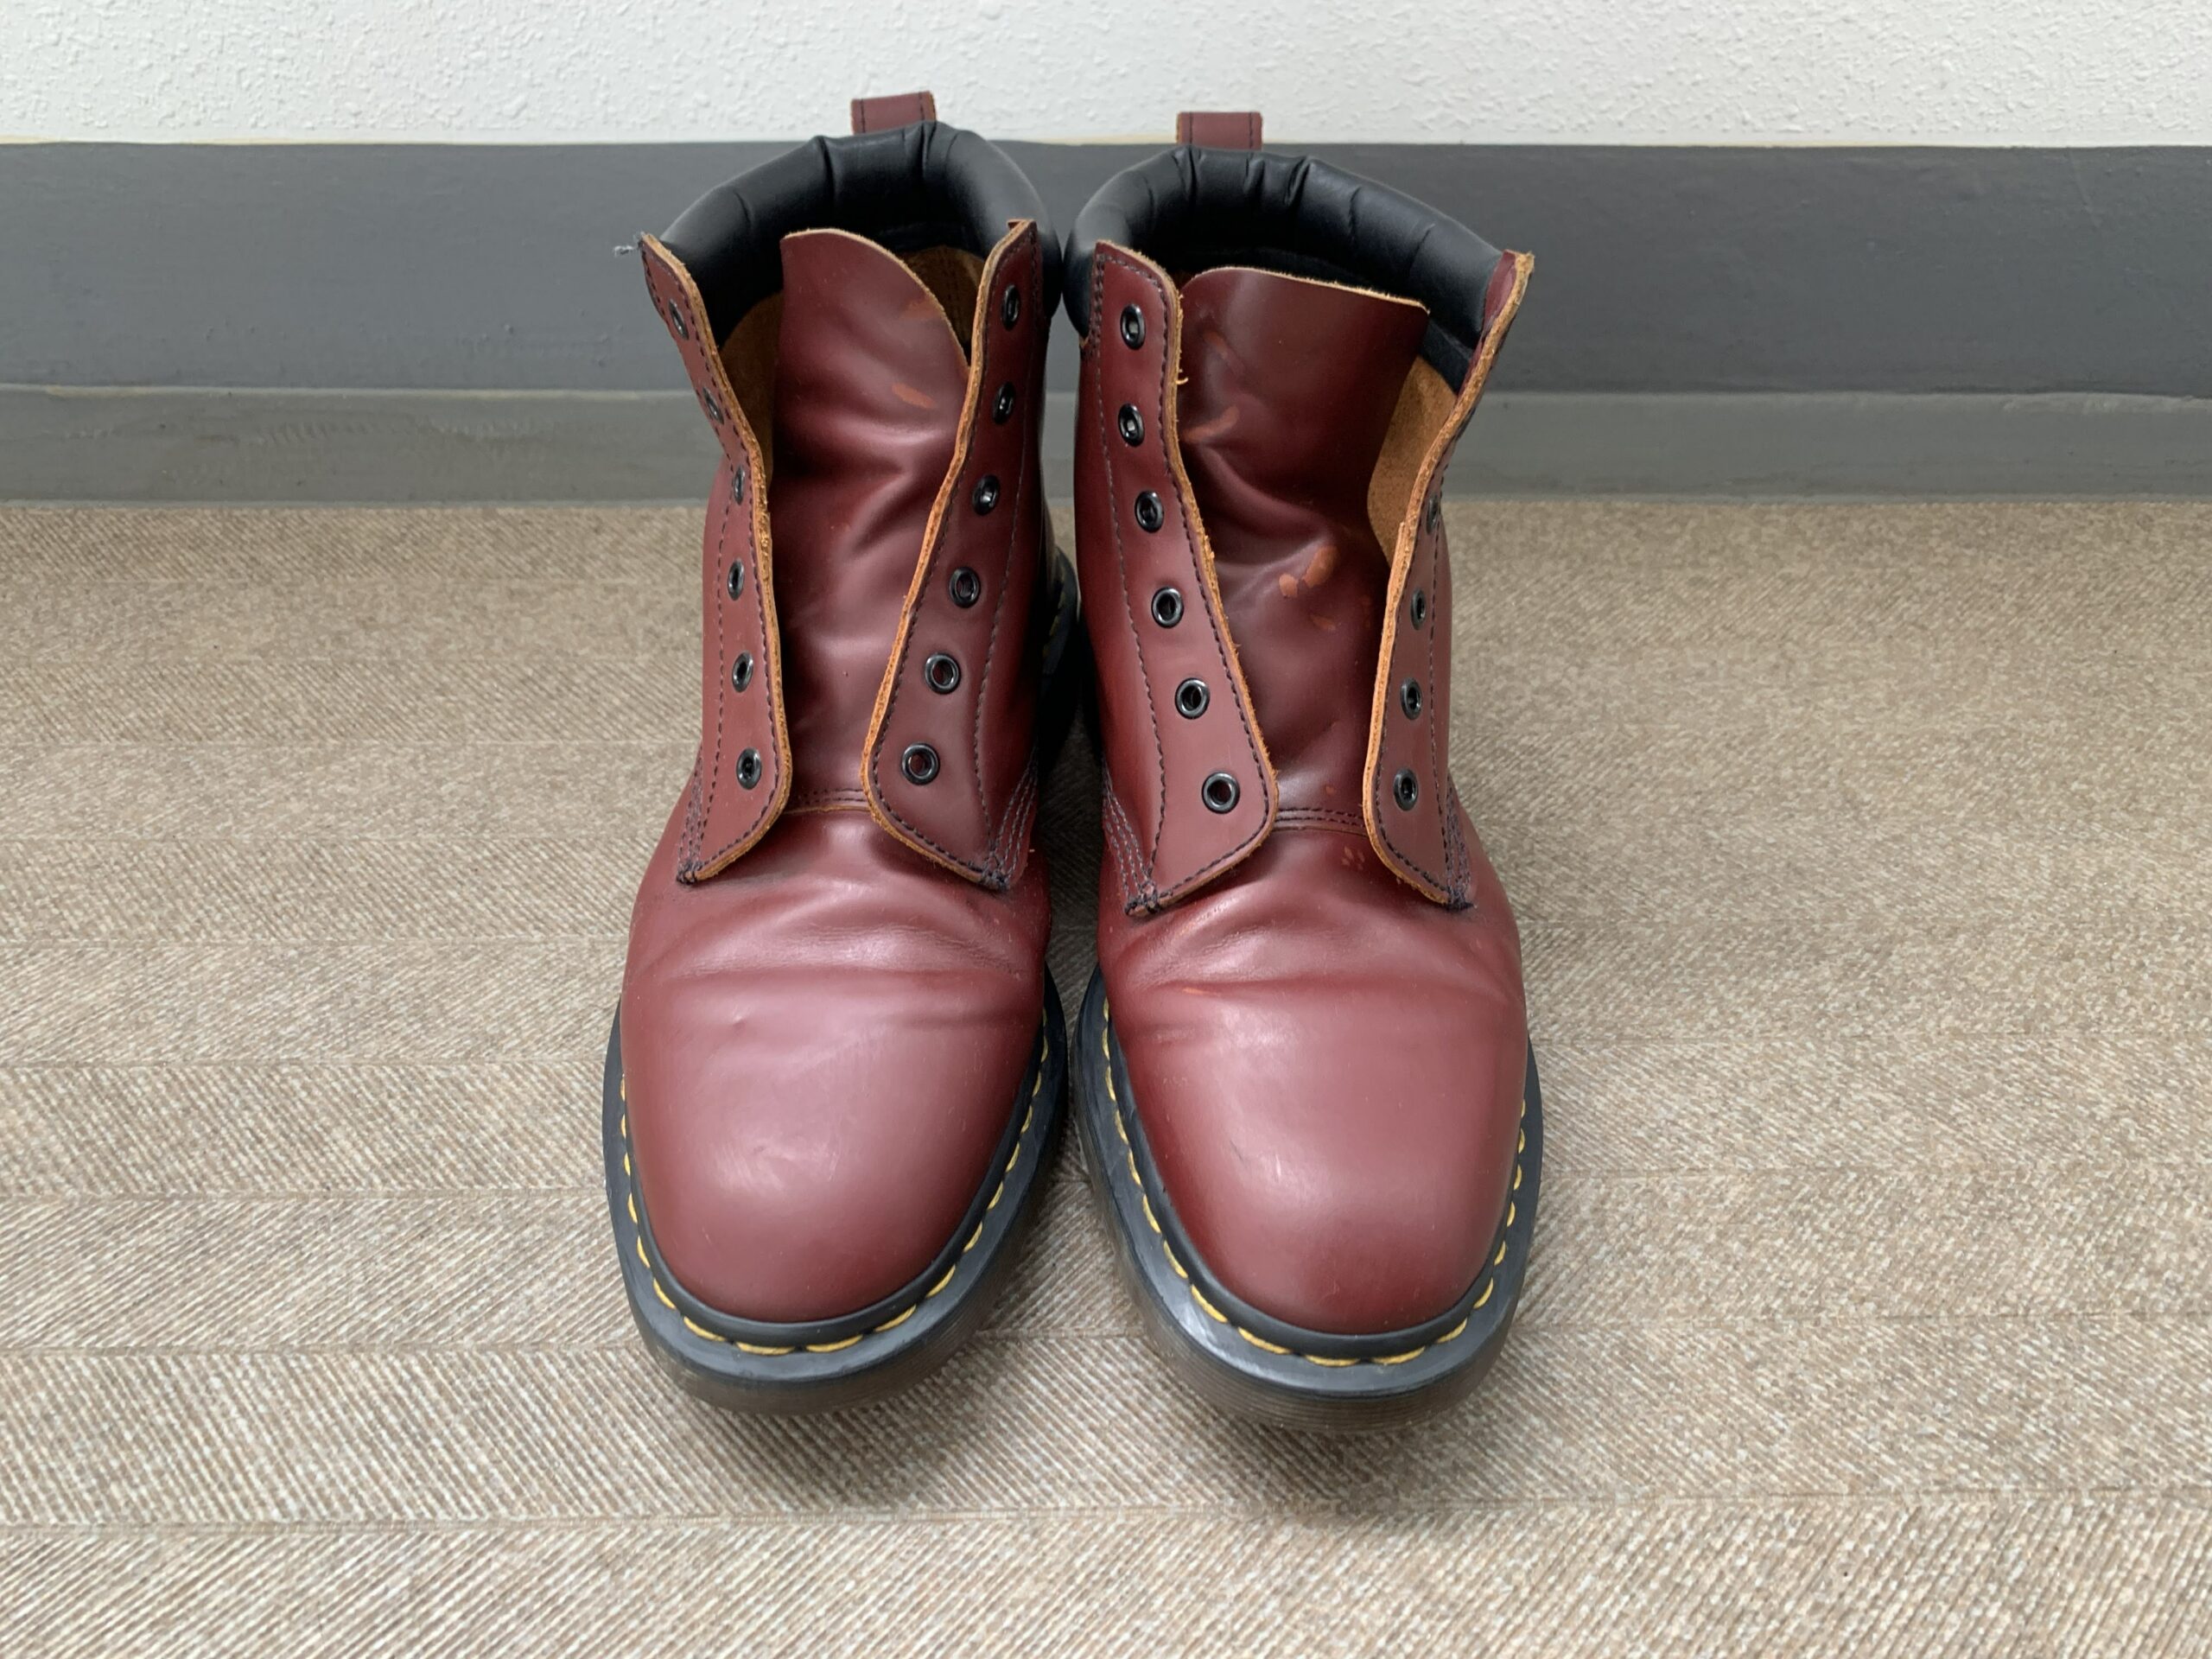
I've owned a pair of Dr Martens that I got from Supreme for a while now. They are the original Dr Martens collaboration from Fall/Winter 2015. While both the black and oxblood colors were sold during the collection, I got the oxblood one. It was way before I had this idea to only dress in black from head to toe, all the time.
Not wanting to throw away the limited pair of Dr Martens, I wondered if I could change the color. Knowing how skilled the Japanese are at shoe repair, I thought there was a chance there might be someone that could professionally dye the boots for me.
I was wrong. I couldn't find any shop that offers that service. I decided, fuck it, I was going to try doing it myself.
A few articles later, I got an idea of how to go about doing it.
- Strip the outer coat
- Apply dye
- Polish when dry
Easy. Actually, not so. This is how it kinda went.
Things you need
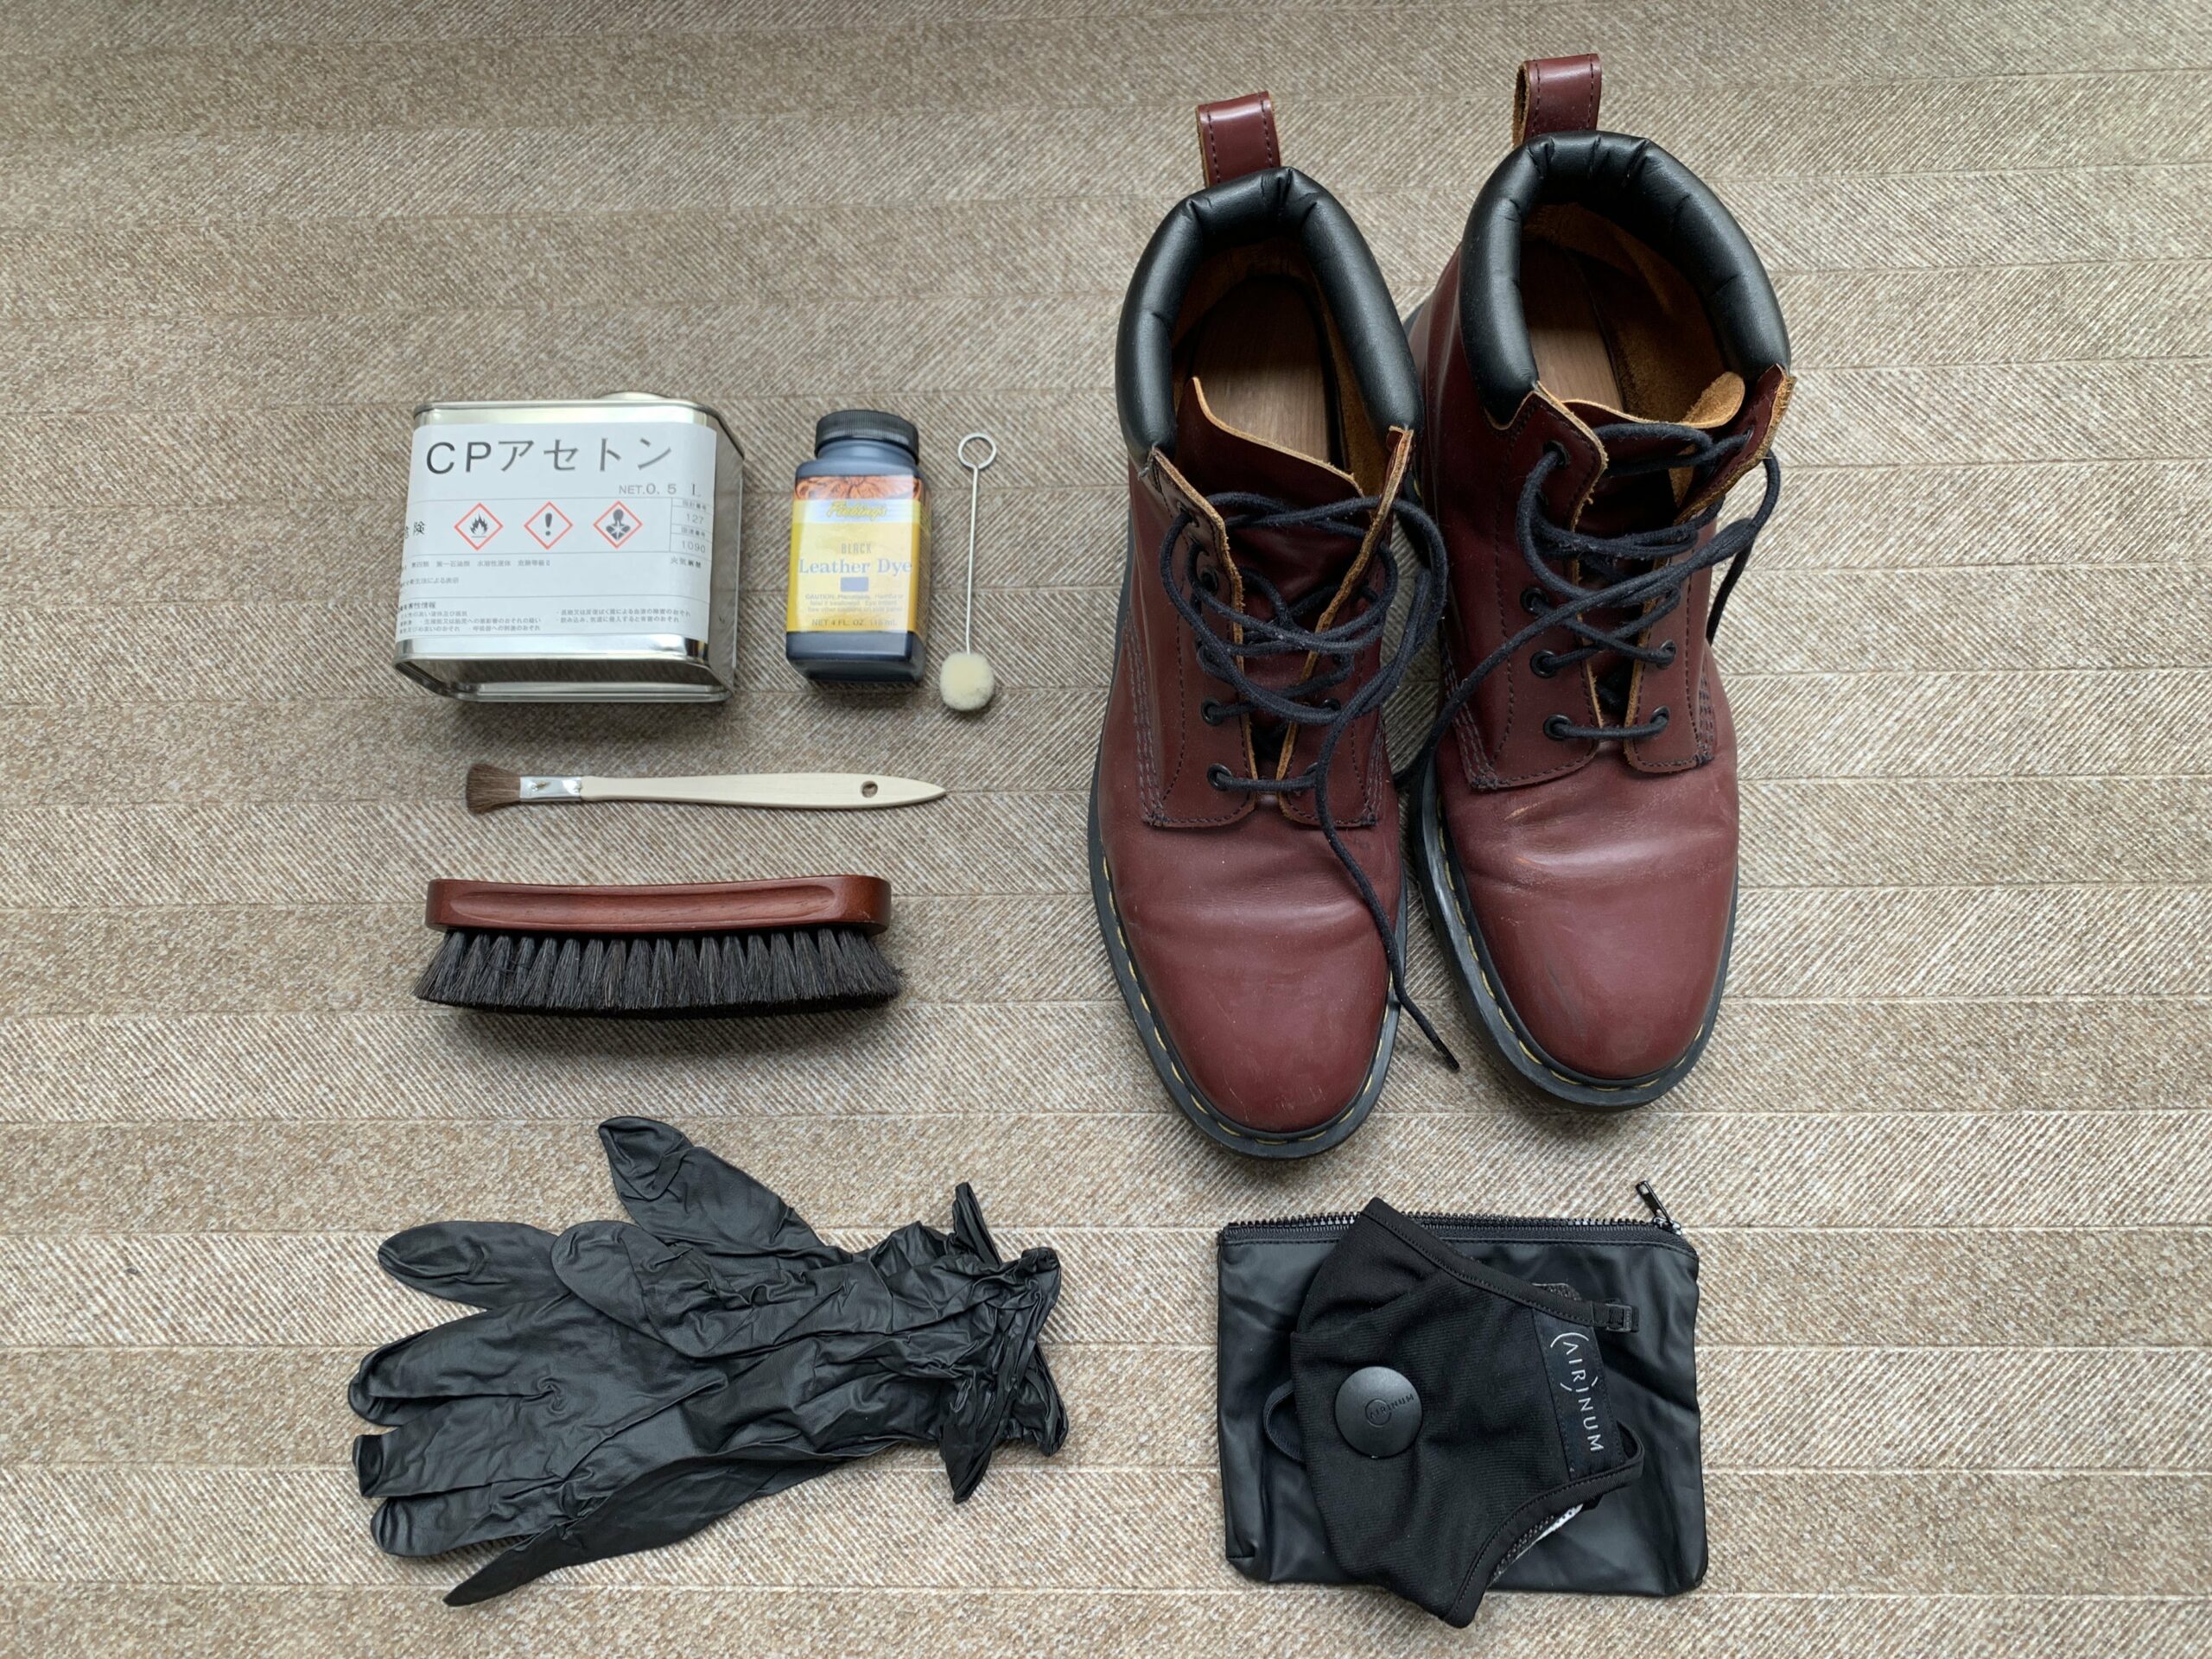
Optional, but you'll be crazy not to have these
- Gloves (In black for extra cool factor)
- Mask (I have the overkill of a mask, the Airinum Mask)
- Paintbrush
- Painter's Tape
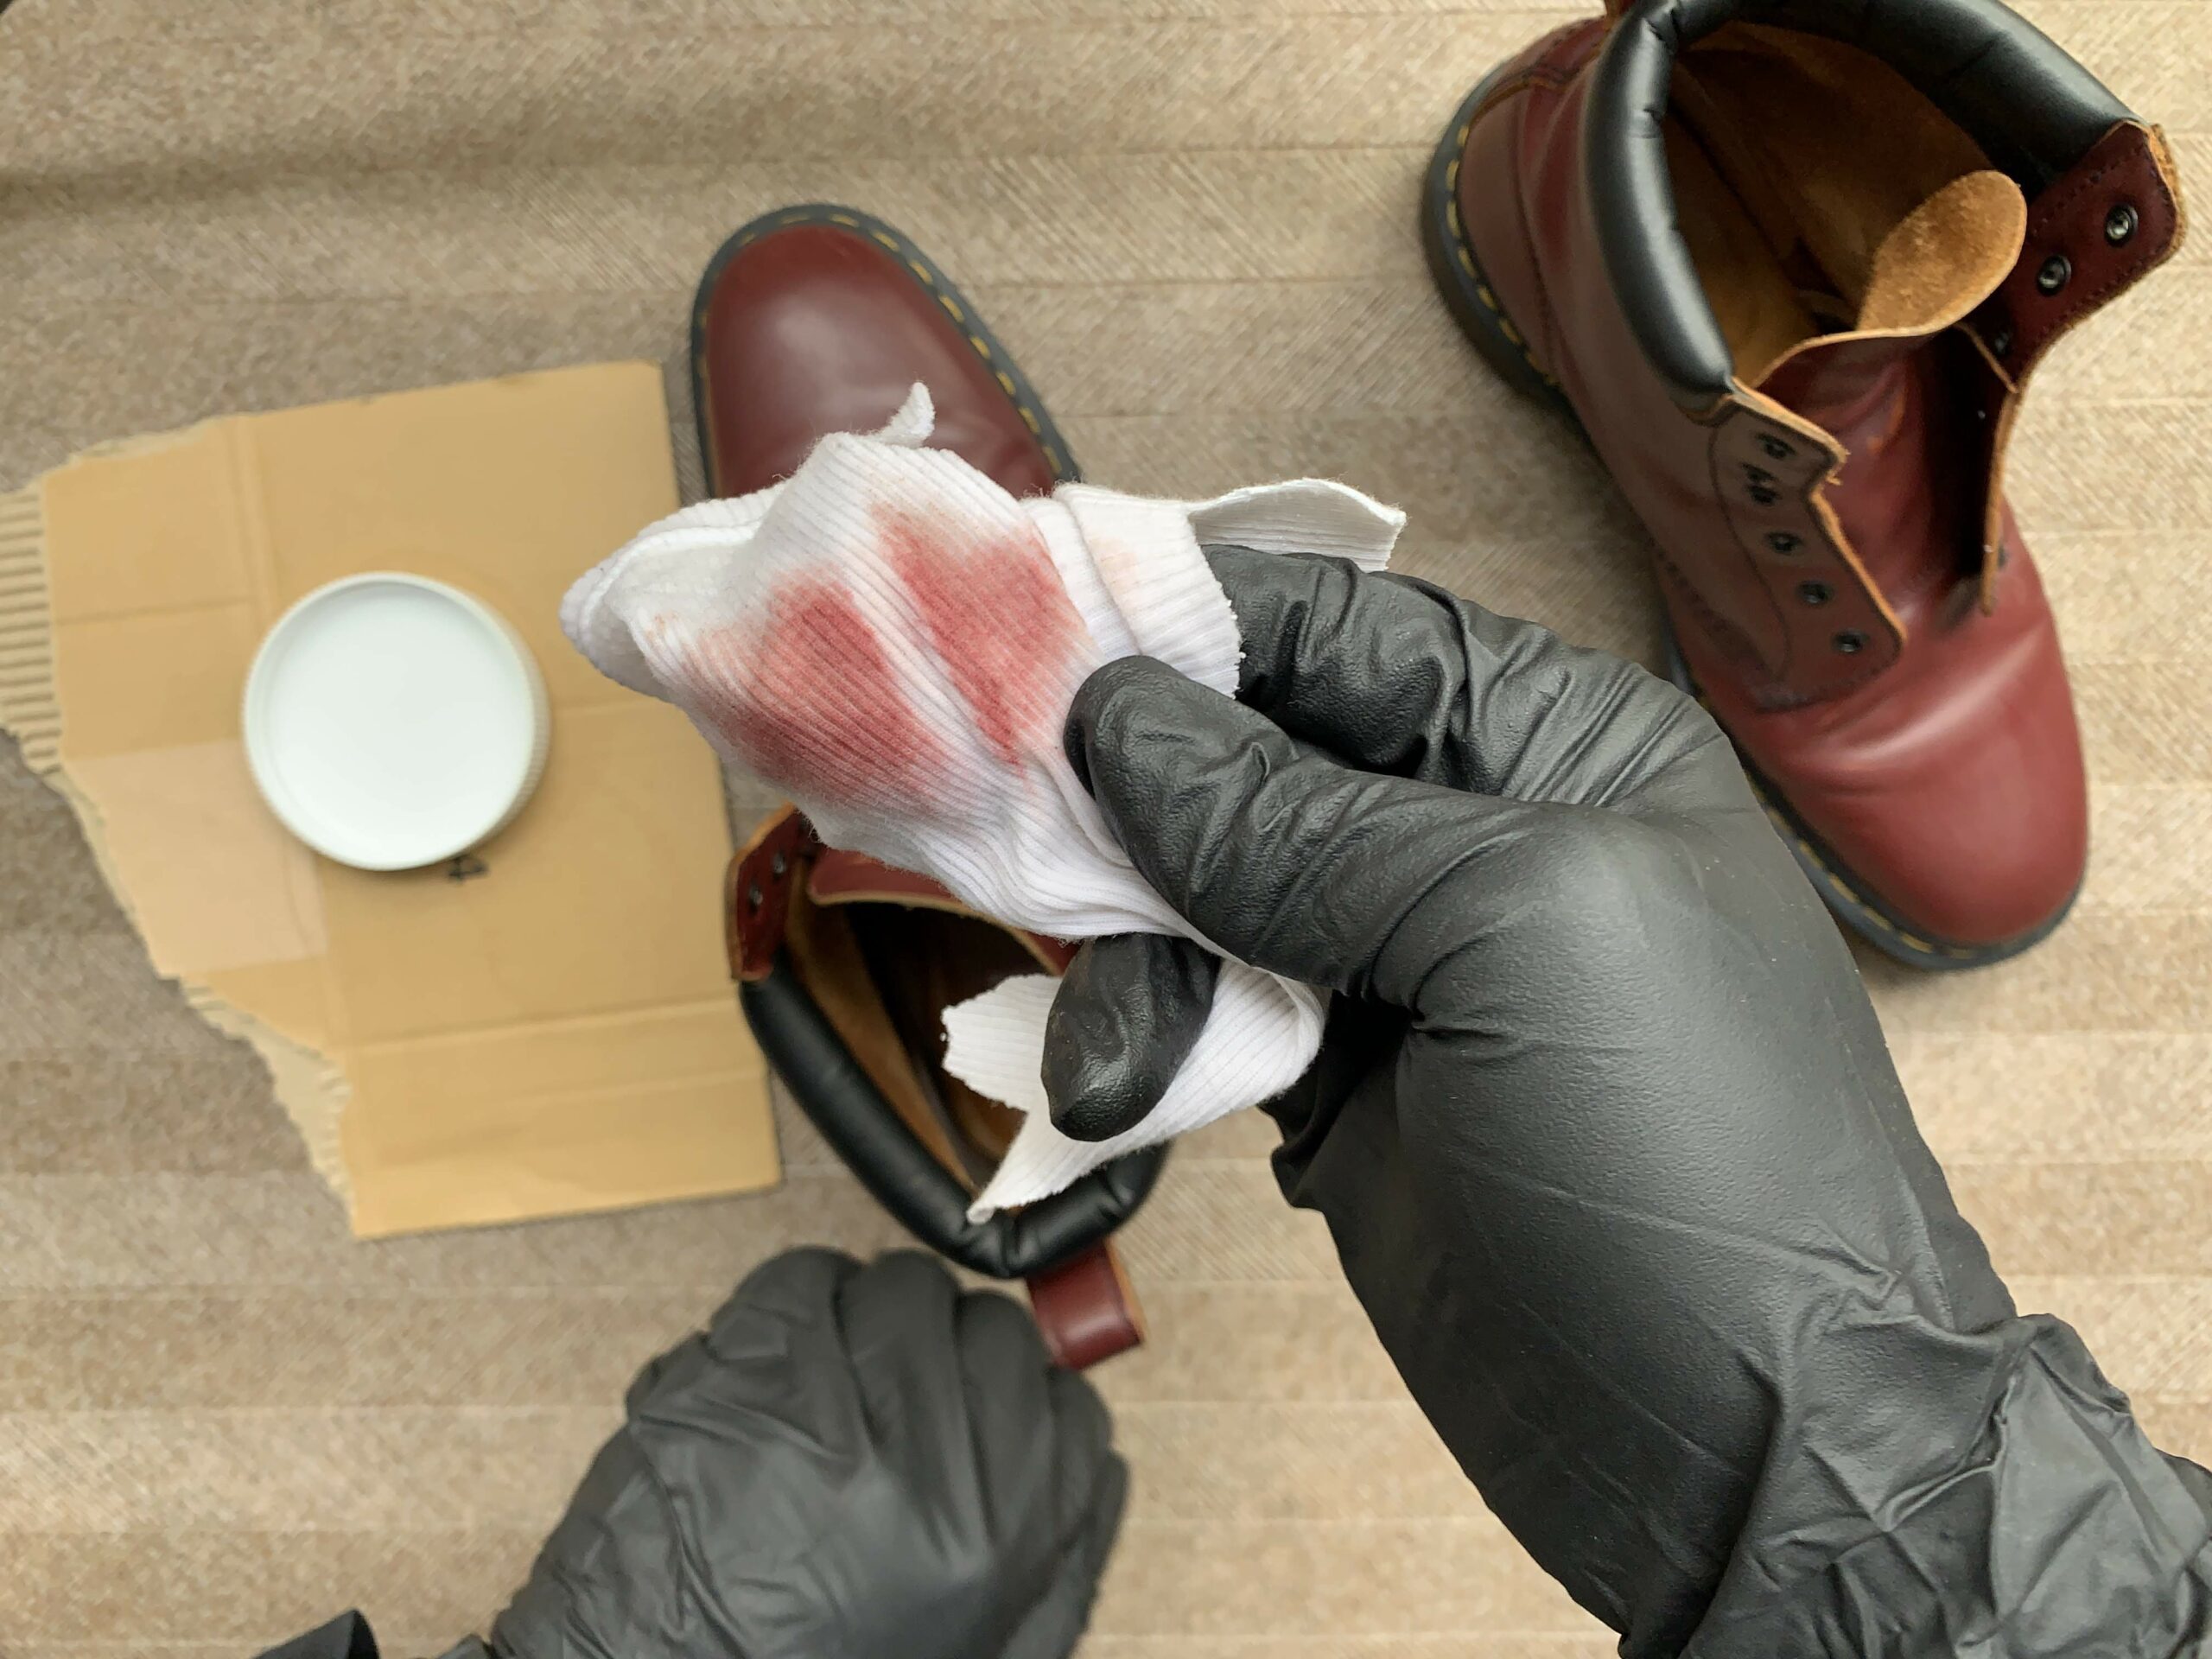
Step 1: Strip outer paint coat
For this, you need acetone. Thankfully, they sold it at the local Tokyu Hands. It was a controlled substance, so you had to sign and leave your information to get them.
I would advise you to do it in an open space with at least a face mask on. Also, try to wear gloves as I don't think acetone is very good for your hands.
First, give your boots a quick brushing to remove dirt and dust. I dipped a cloth into acetone and rubbed it onto the boots in a circular motion. I did a few rounds of this to make sure the coating was stripped off cleanly. It's also not unusual for the original color to come off during this step.
This used to be an ad.
But no one likes ads, so I got rid of them. If my articles helped you, I ask for your support so I can continue to provide unbiased reviews and recommendations. Every cent donated through Patreon will go into improving the quality of this site.
Step 2: Apply dye
I used Fiebing's black leather dye. The dye itself comes with an applicator but the application is tricky as the cotton absorbs a lot of dye which tends to drip all over, leaving an uneven coat.
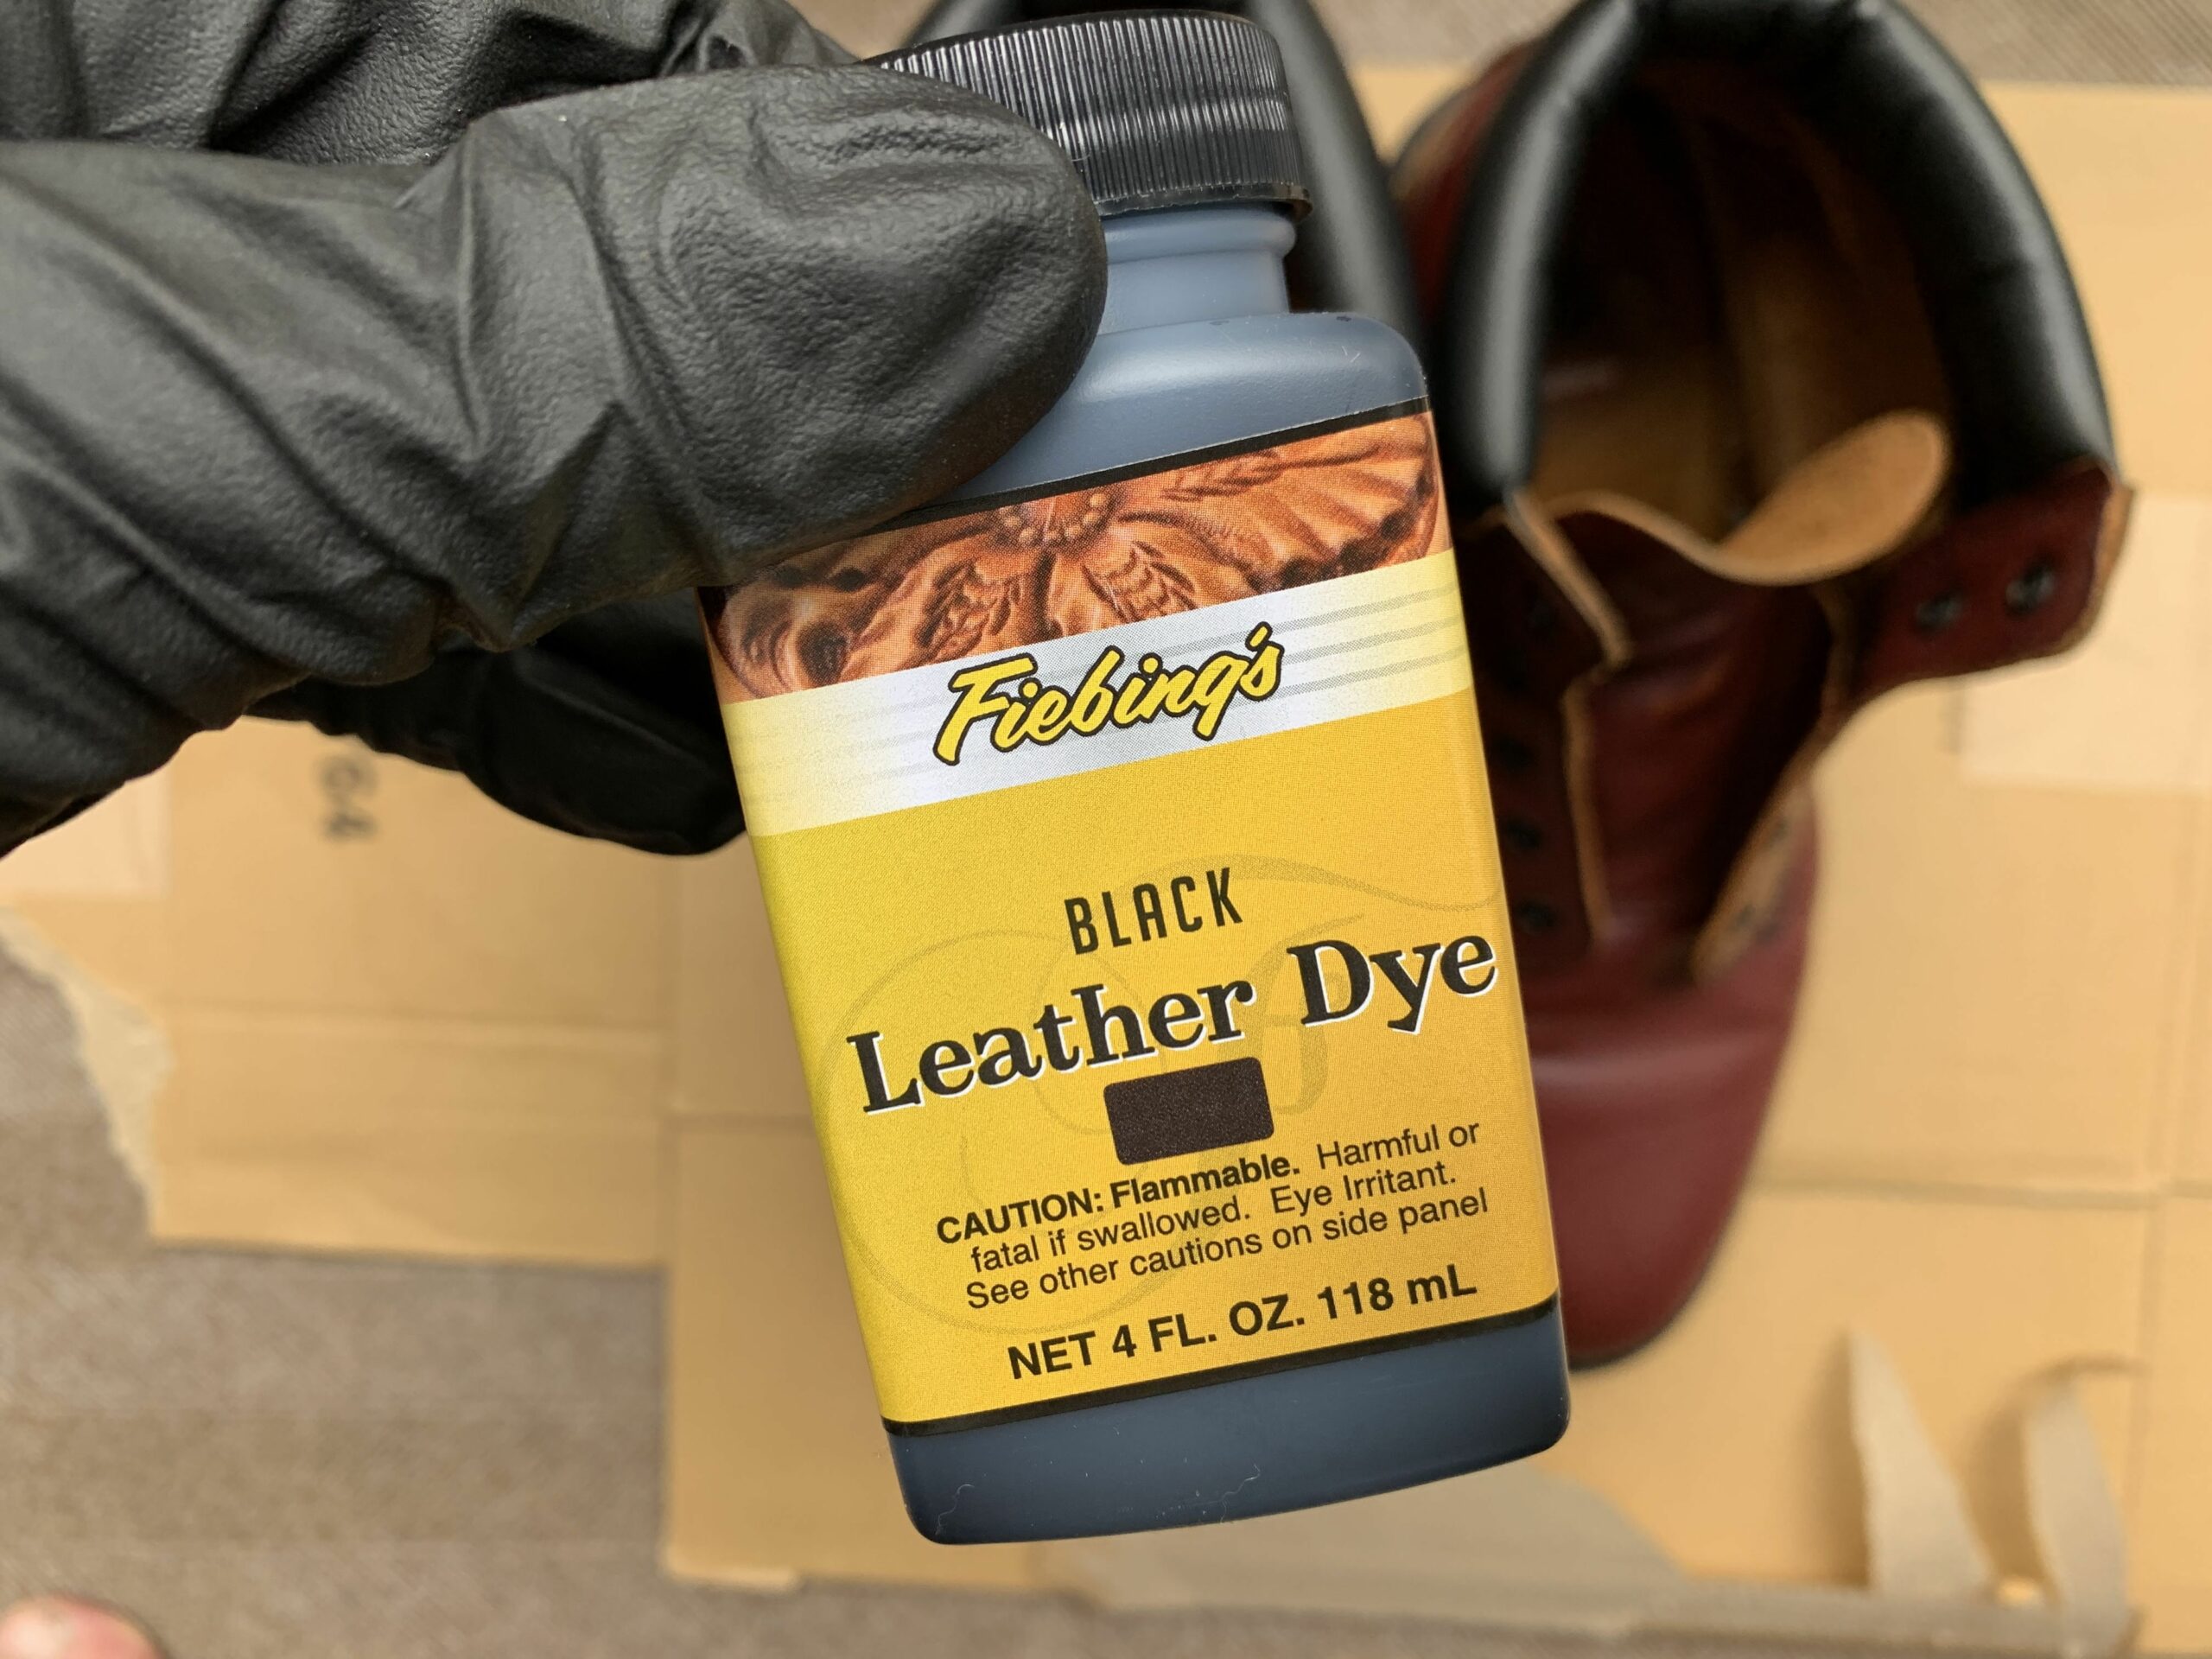
I would advise getting a brush. It's easier to control the amount of dye and also allows a smoother application. I applied a few layers, alternating between each boot.
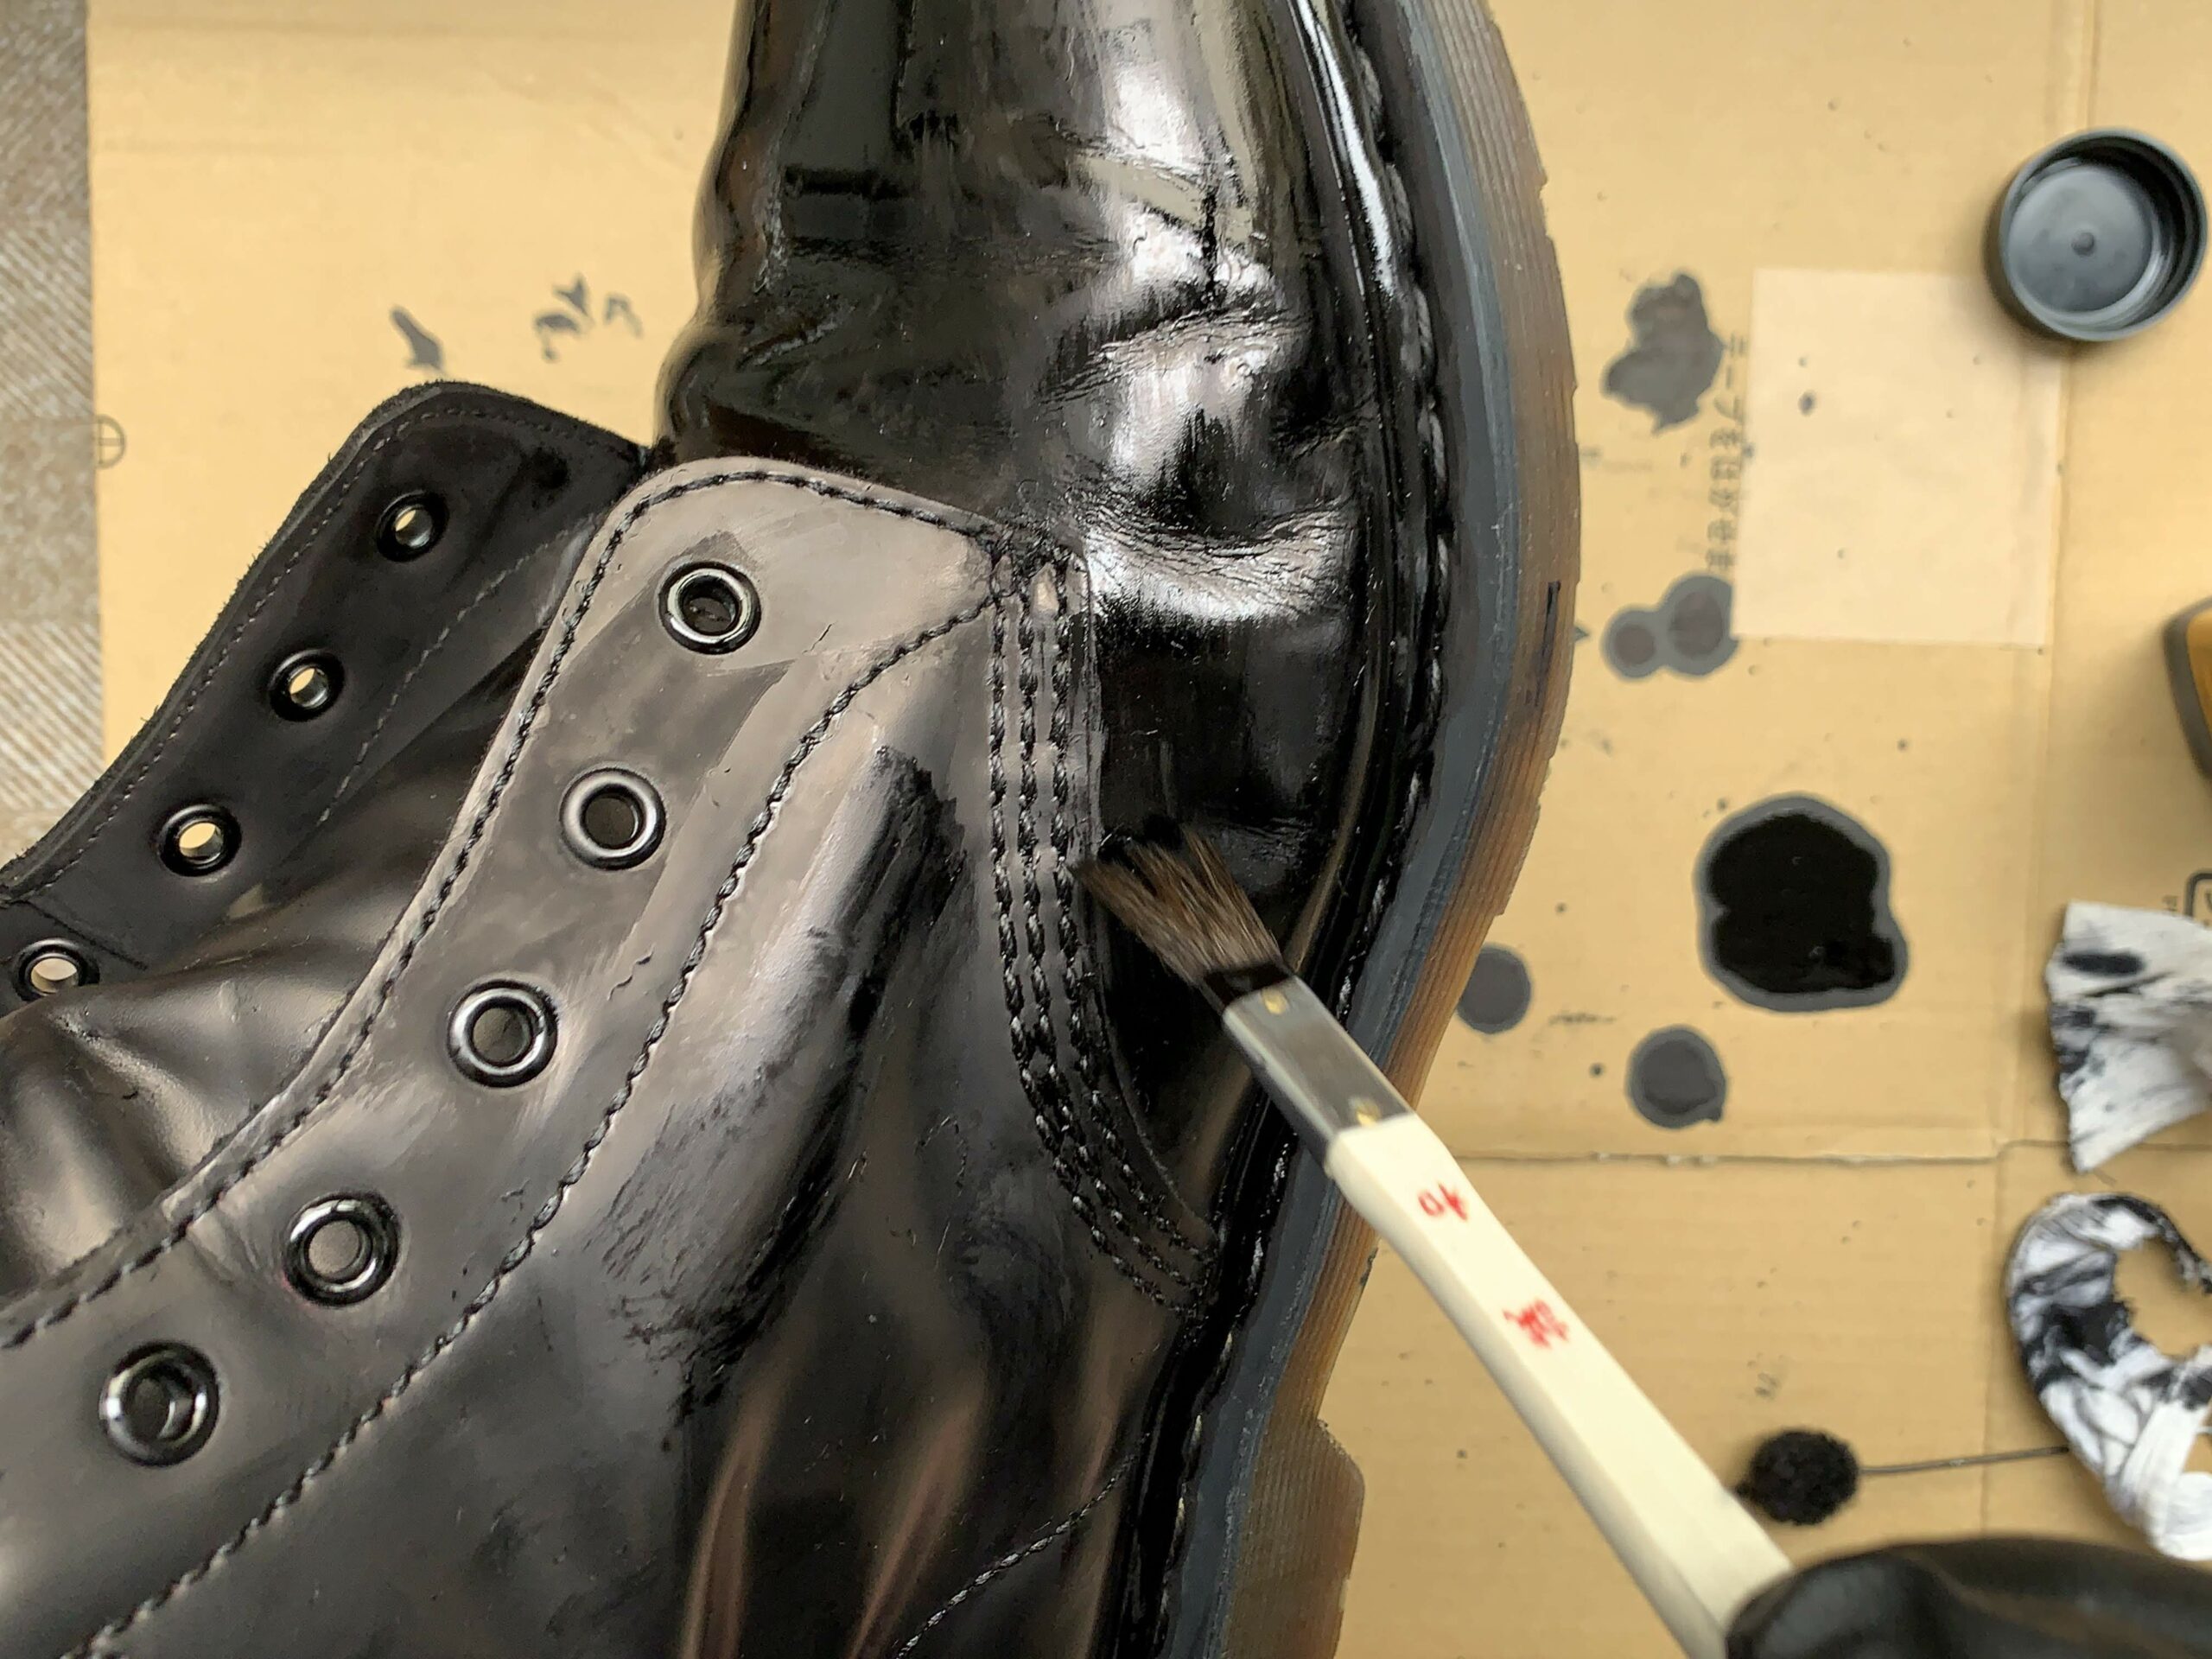
Initially, I masked the sole, but I didn't have any painter's tape, so dye was dripping into the sole anyway. There was also yellow threading around the welt, so I decided to dye those black as well.
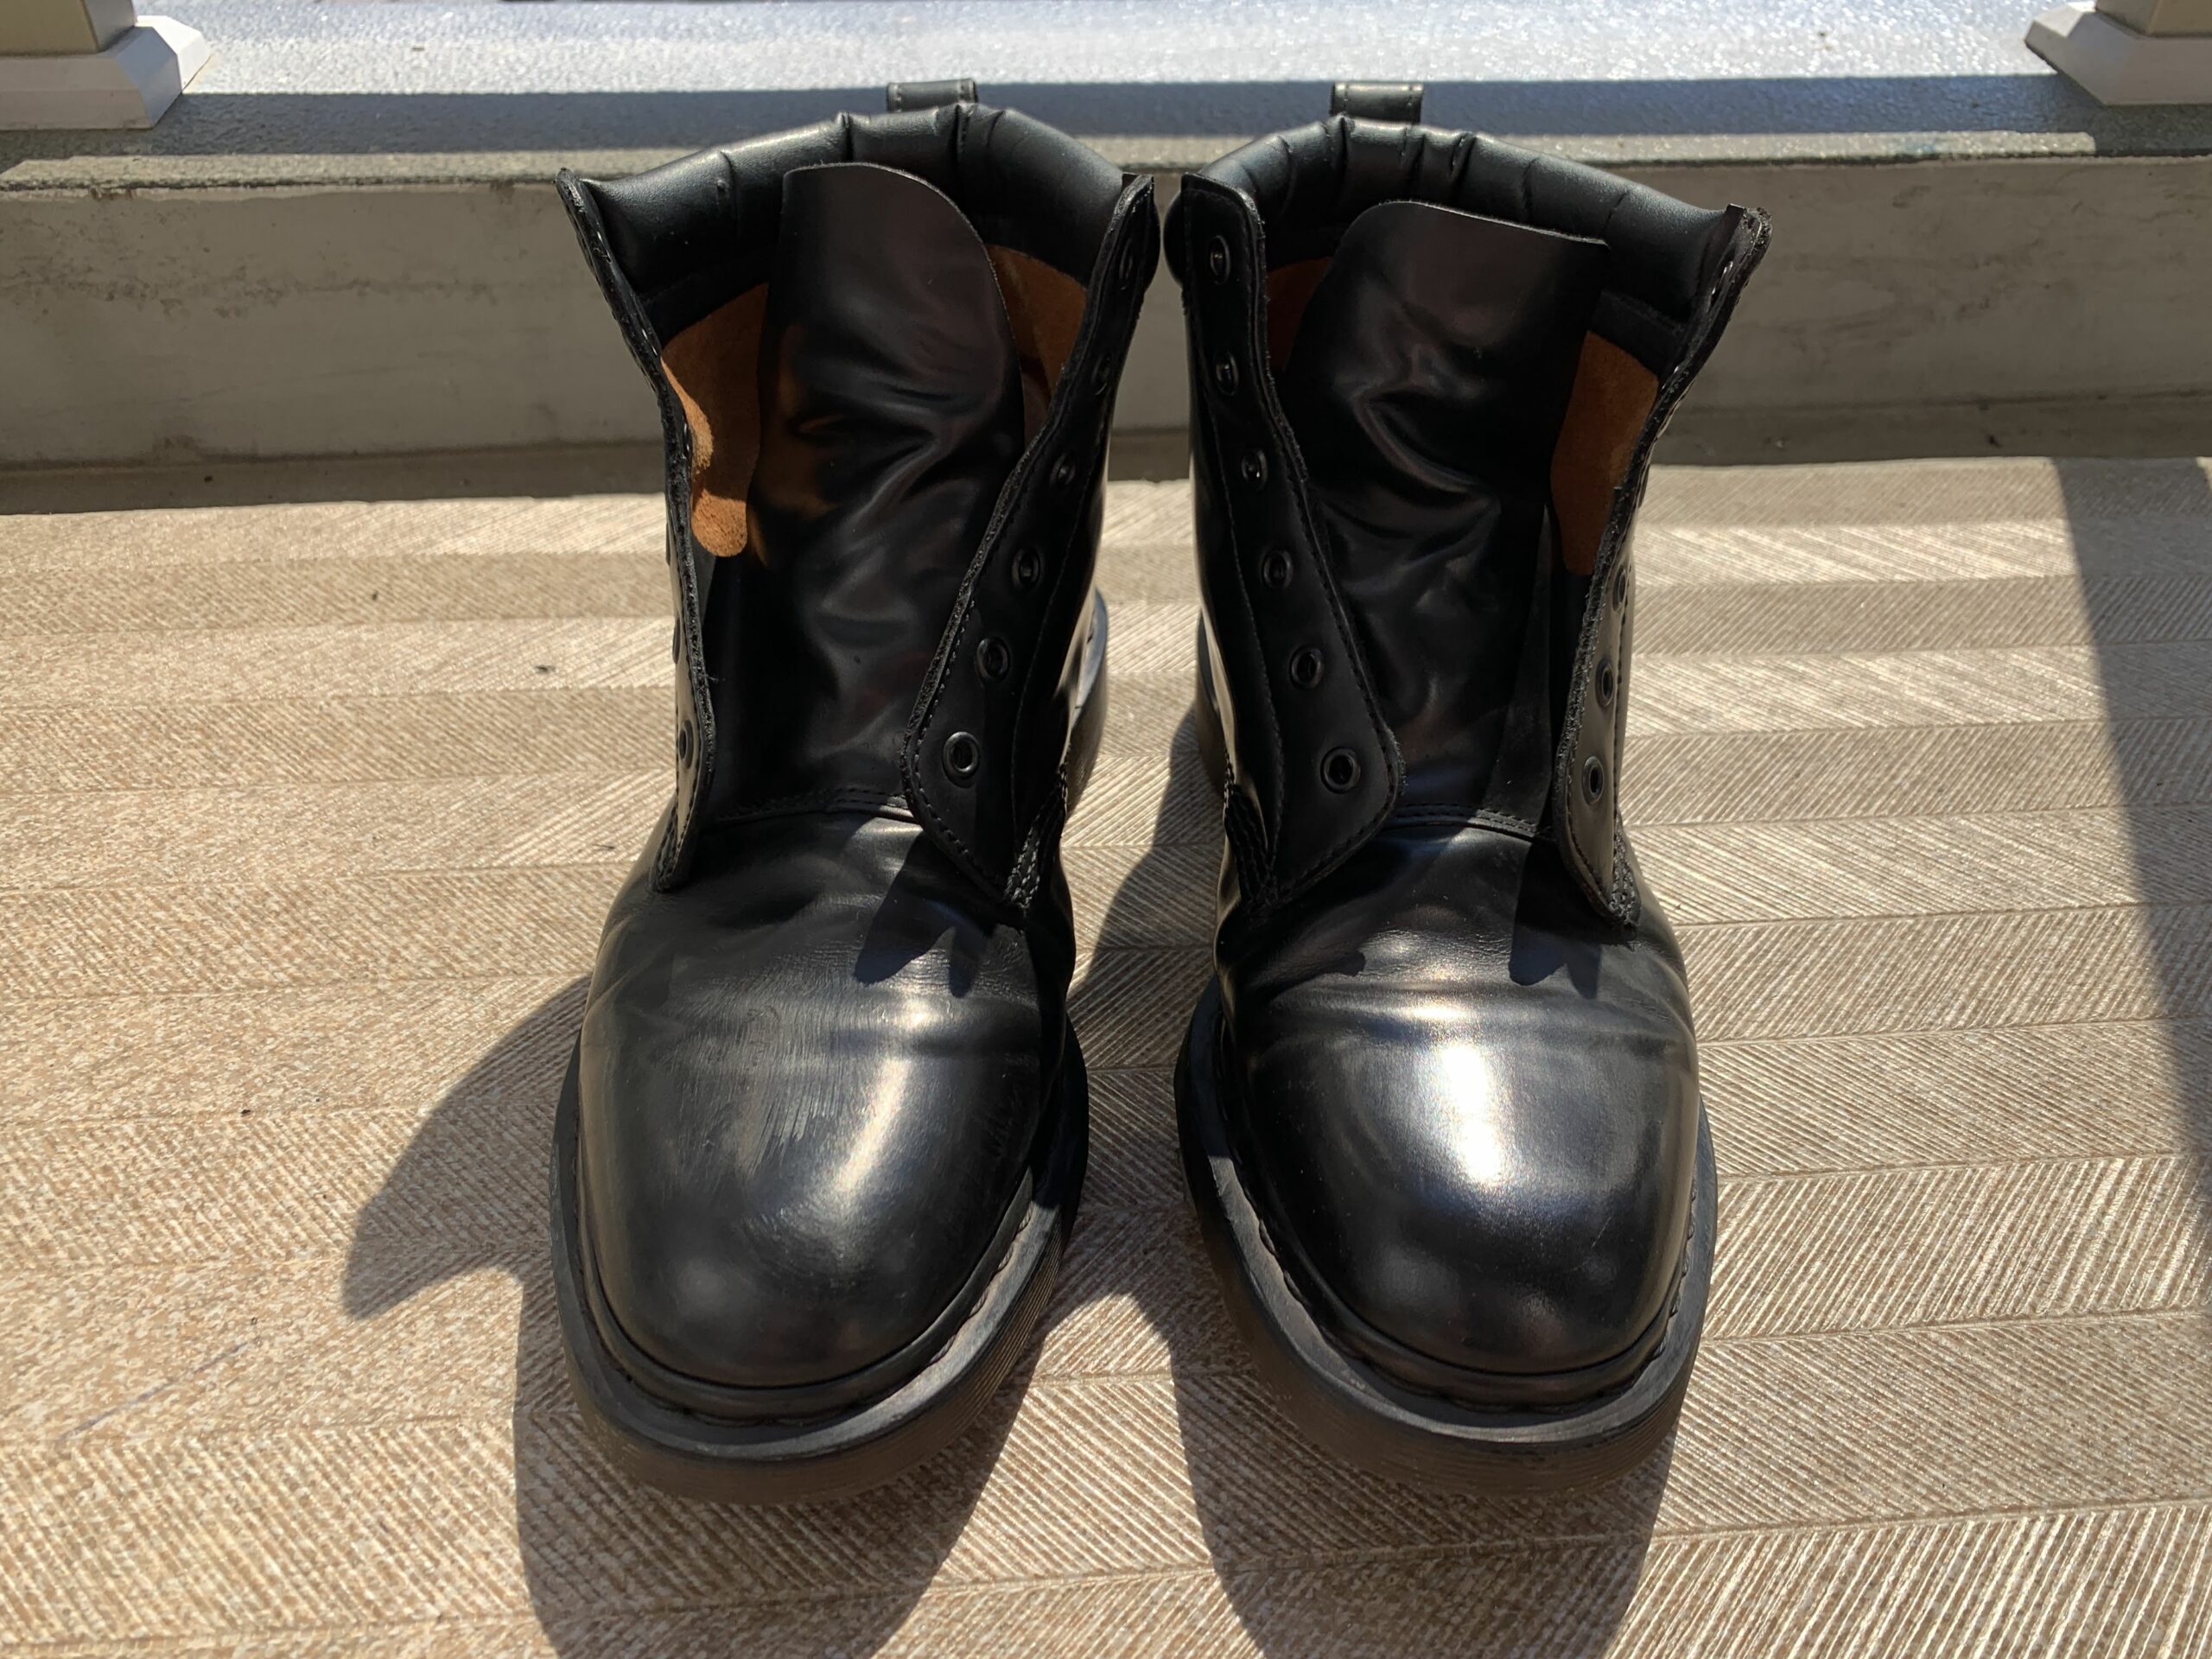
Step 3: Polish
You should leave it to dry for at least 24 hours. You'll notice that the black, has a reddish tint. This is why you need Dr Martens black shoe polish or just some good ol' KIWI to get the correct black.
Rub the polish in a circular manner all over the boots until no reddish tint is left, and then brush it to bring out the shine.
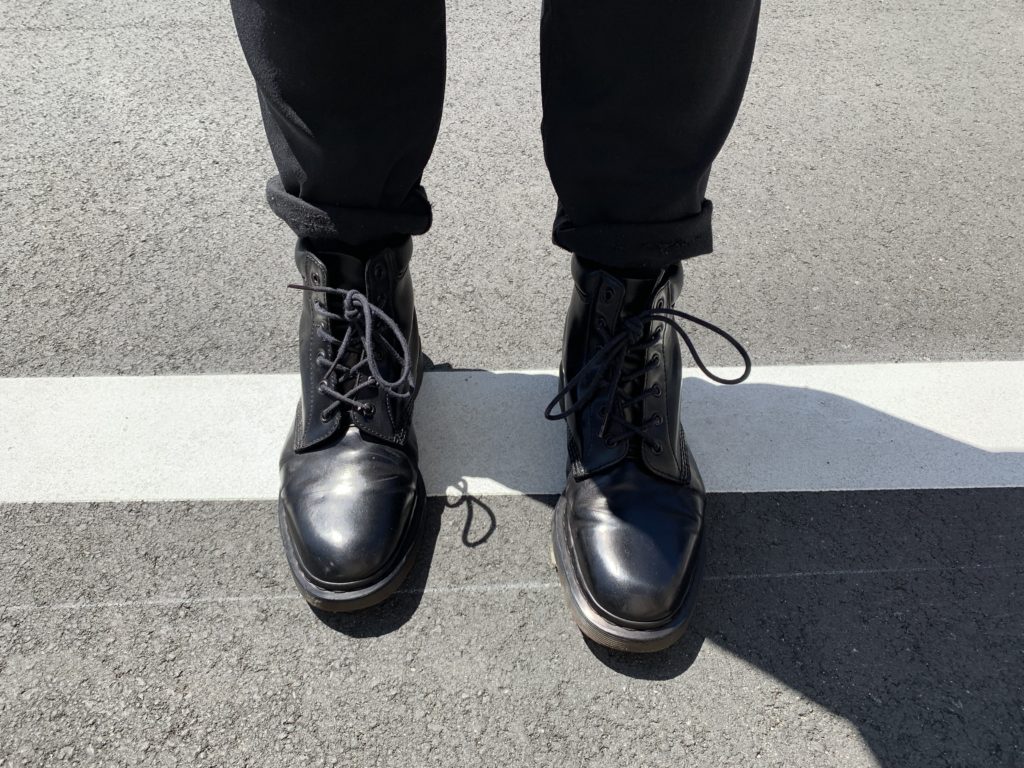
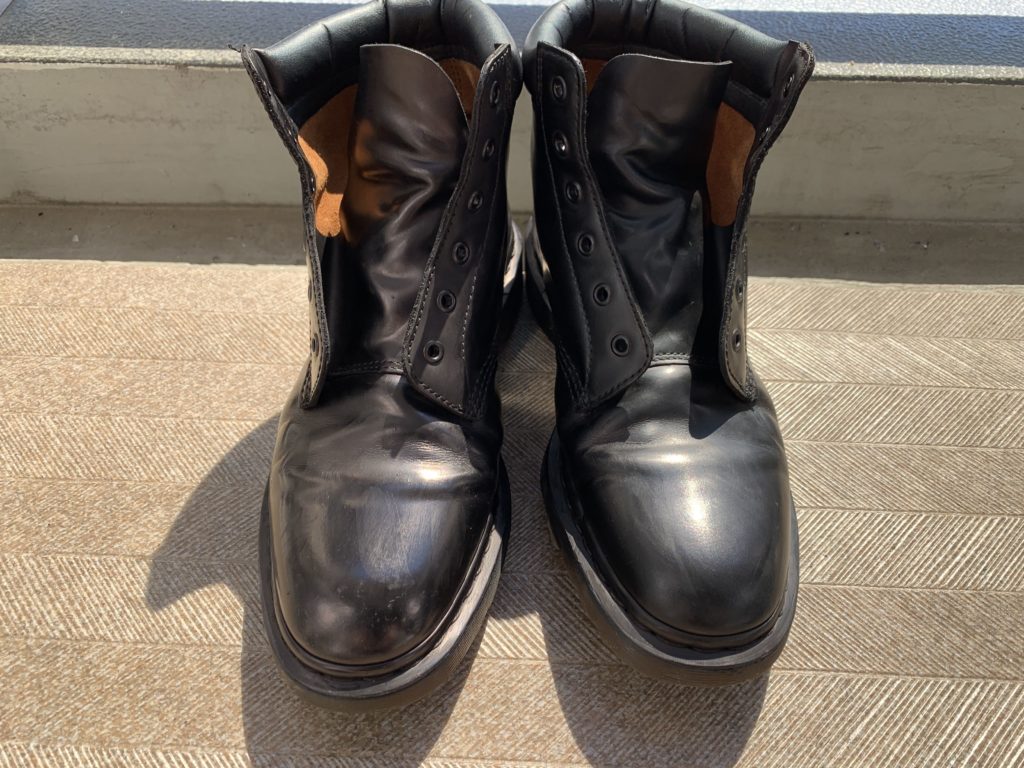
Results
I'm overall super happy with the result. Some small spots show the oxblood, but they aren't very noticeable and can be redyed later.
I designed a thing.
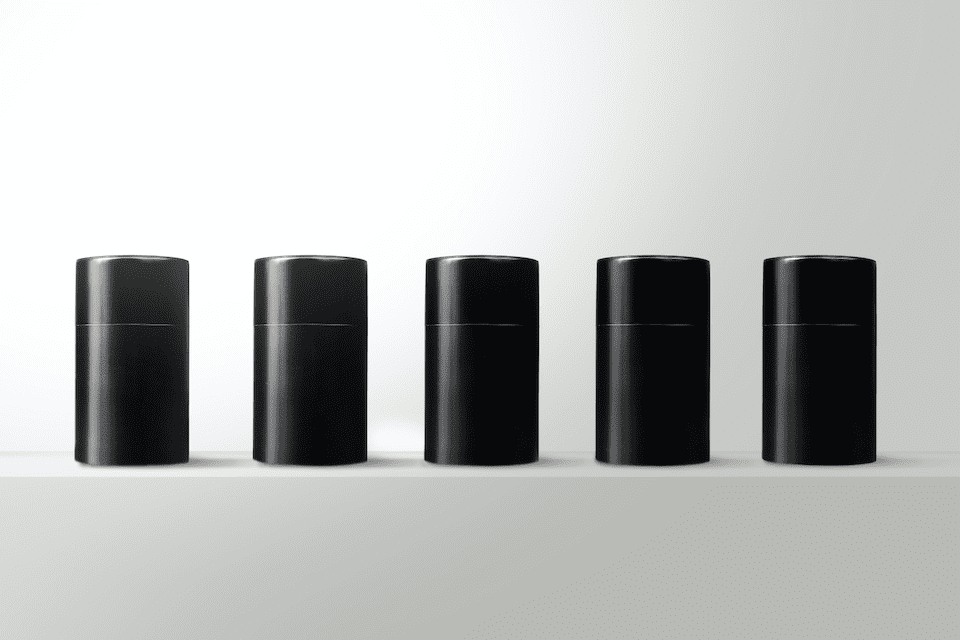
I found a 100 year old company that would create these heirloom quality canisters for me. They are handmade and will keep your tea leaves, coffee beans or anything that you need dry for years to come.
or read review