This website is made possible by readers. I may earn a small commission when you buy through the links in this article at no extra cost to you. Learn more.
Since a few years ago, I've started wearing only black clothing. What started as an experiment in minimalist and evolved into a full-blown obsession. While the intention was to limit the number of choices by color, I started thinking of turning things that didn't come in black, into black, like when I dyed my Dr. Martens shoes.
Since I went down the rabbit hole of power tools for DIY projects, I've become hooked on Japan-made Makita tools.
The only problem—most of the products come only in green. While Makita does offer some popular models in black and other colors, most of the tools I wanted only came in green. I have no hate for the iconic color, but an obsession's an obsession.
And like the resourceful addict that I am, I began looking for ways to change the color of my tools. I finally found a video that seemed feasible for an amateur like me to dye the tools. Apparently, you can dye the plastic of Makita tools.
For those who are interested in doing the same thing, I've decided to write this guide.
Disclaimer
I hold no responsibility for any instructions you follow in this guide. If your tool ceases to work, or touch wood, cause injury or death as a result of improper assembly, I will take no responsibility. Please follow this guide at your own risk and seek the advice of a professional if required.
Things you need
Required
- Plastic dye (like SDN Resin Dye if you are in JP or Rit Dye if you are in the US)
- Large pot or fry pan that can hold enough water to completely submerge your tool's casing
- Screwdriver
- Gas burner or stove
Optional, but probably a good idea to have
- Mask
- Well-ventilated space
- Gloves
The main component you need is the plastic dye. I used the same dye as the one in the YouTube video I found. I would advise you to get more than you think you need since the dye is not readily available from hardware shops, even the ones for pros. I used five bottles (70ml each) for two tools.
For those who don't live in Japan, I've seen videos like this that demonstrated that you could use the Rit Dye to dye plastic in the same way.
This used to be an ad.
But no one likes ads, so I got rid of them. If my articles helped you, I ask for your support so I can continue to provide unbiased reviews and recommendations. Every cent donated through Patreon will go into improving the quality of this site.
How to Dye (Makita) Powertools to Other Colors
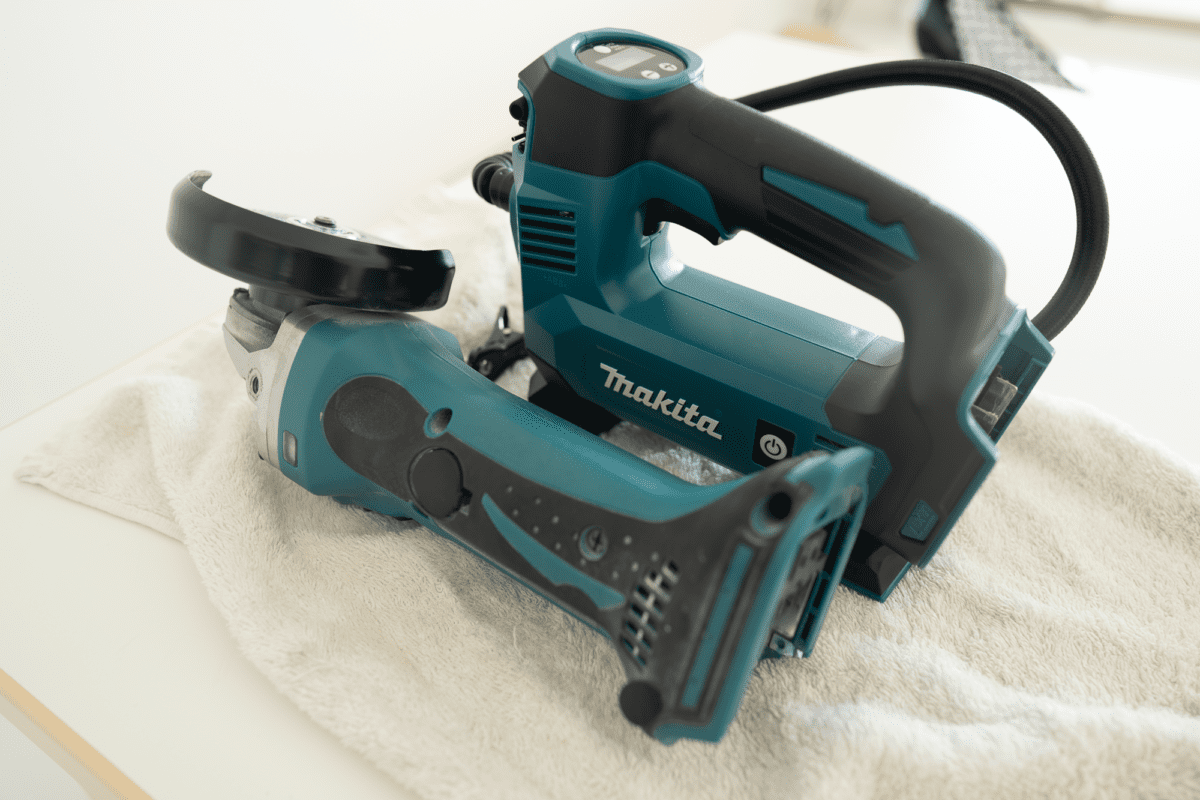
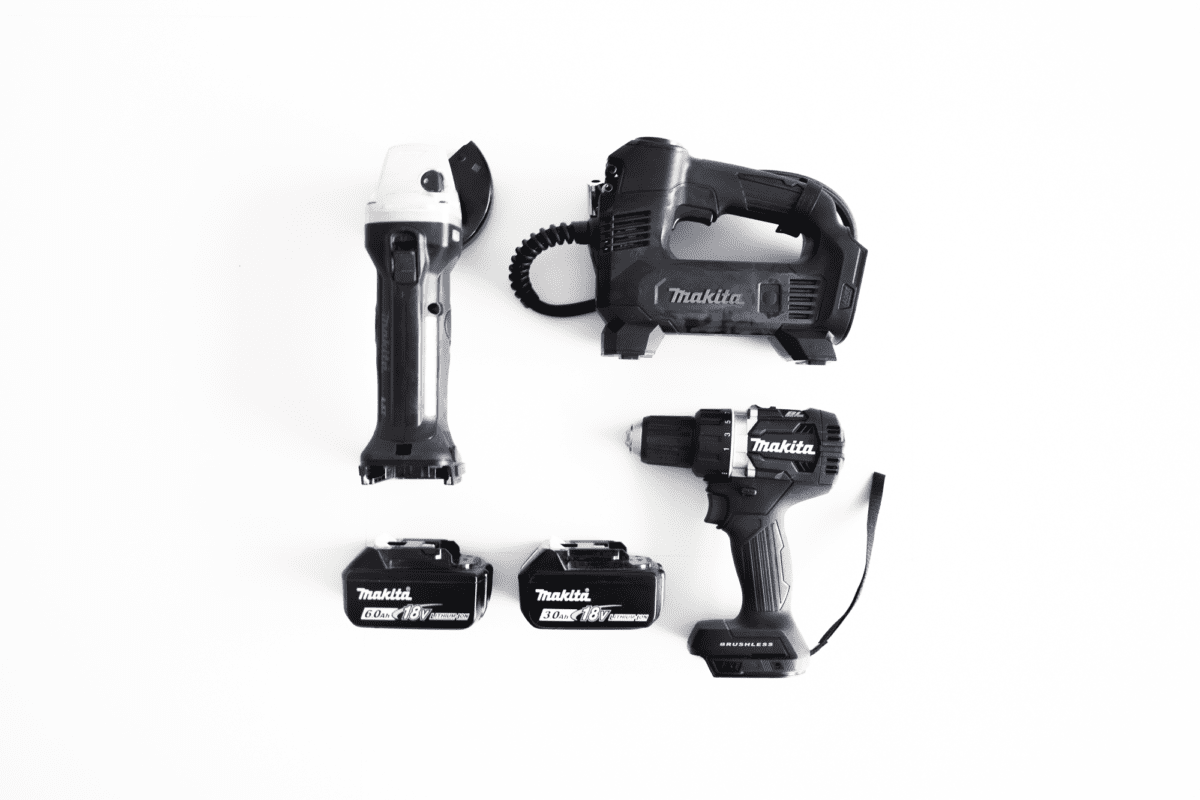
Before you begin, I think it goes without saying that the base color of the plastic will affect the results. For example, it won't work if you try to dye something black to yellow. In general, the lighter the start color and the darker the end color, the more effective the dye. I dyed two green Makita tools, an angle grinder, and a cordless inflator to black for this tutorial.

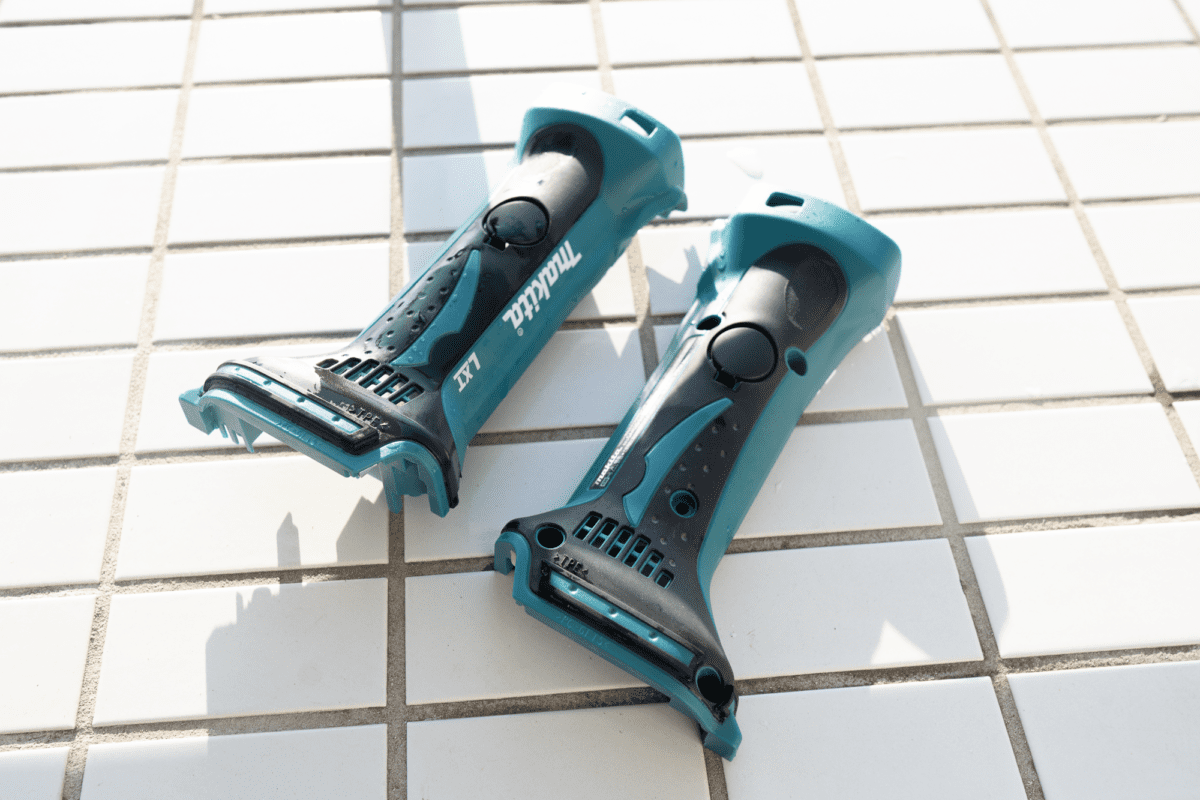
Step 1: Take your tools apart
With a Philips #2 screwdriver, unscrew all the external screws you see. Most of Makita's tools are designed so that the screws are visible, and the casing can be taken apart easily by taking out the screws.
Take a photo of the internal components once you've taken off the top half of the casing. Especially if you are not a pro, I can't emphasize how important this step is. This is so that you know where each component belongs and will prevent yourself from killing yourself out of frustration. While the casing of Makita's tools comes with slots for each component, it isn't self-evident.
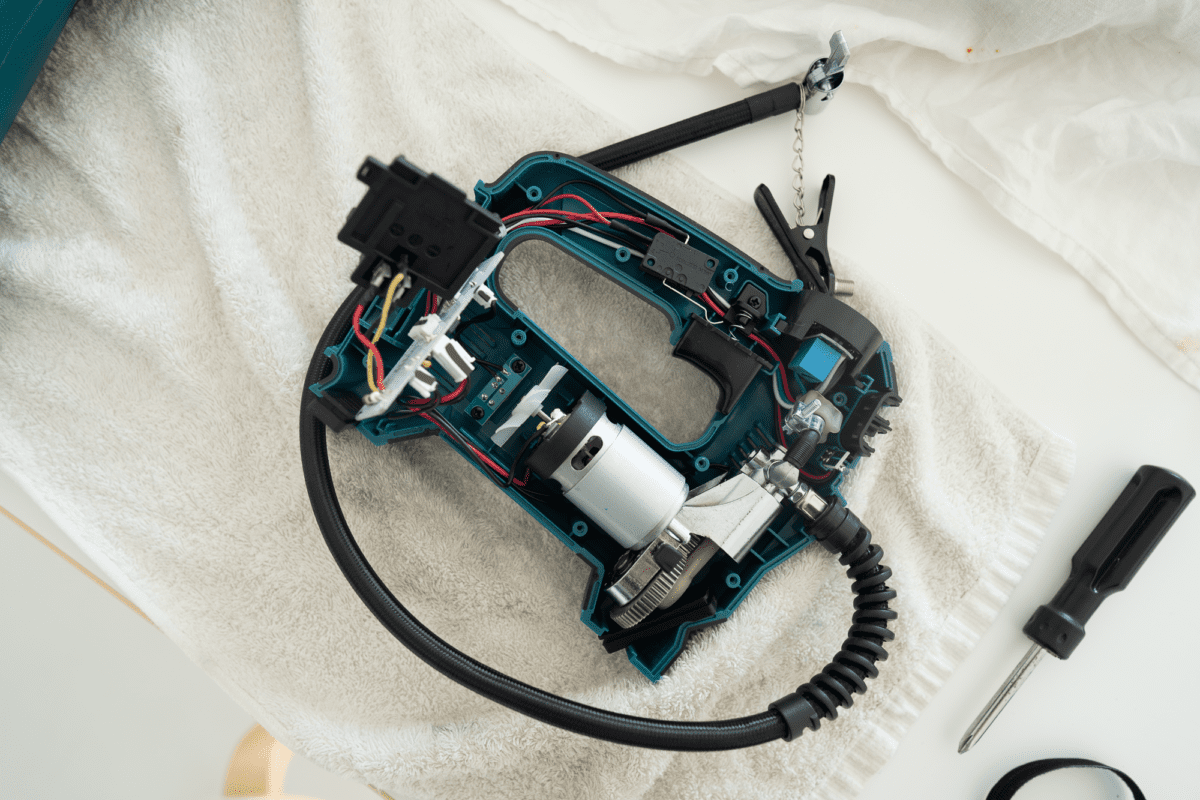
Once you've removed the plastic casing, be sure to keep all the internal parts and screws organized so that you can find them when you need to reassemble them.
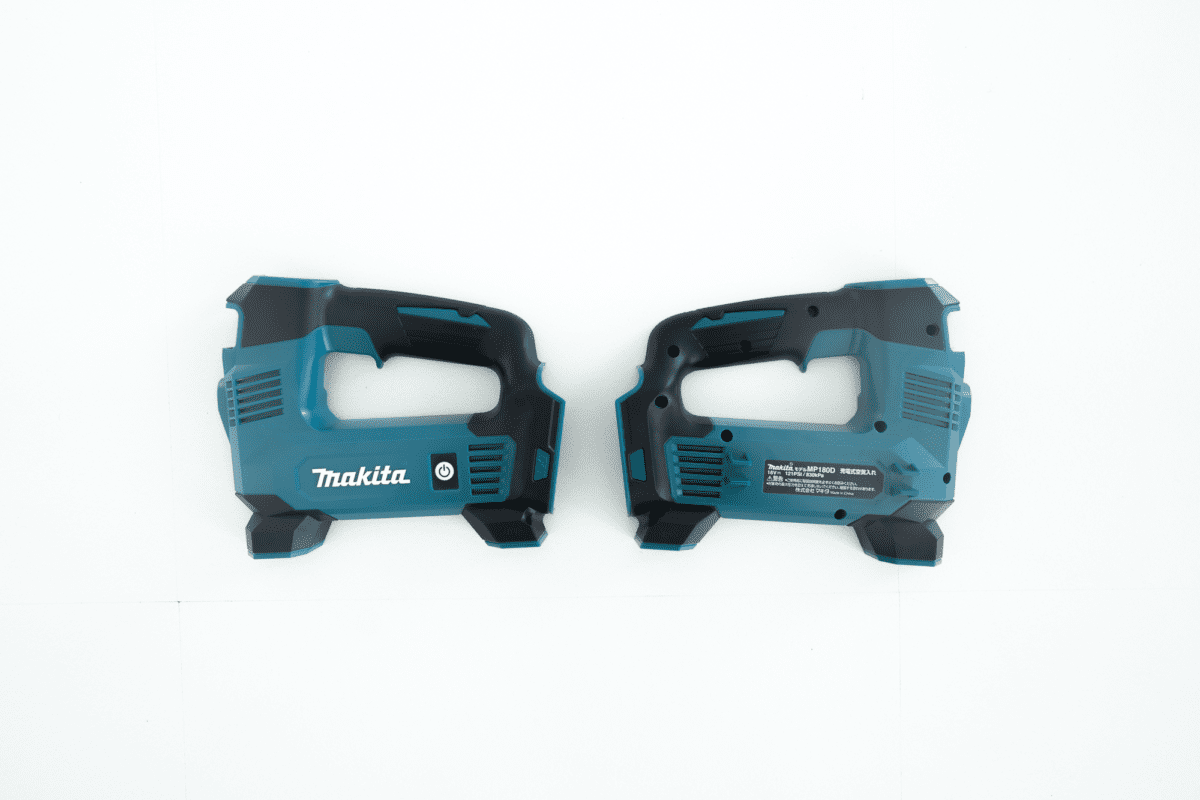
Make sure the plastic casings are clean and free from dust. You can give them a quick rinse with a hose. They are going to get wet anyway.
Step 2: Dye the parts
Pour water and the dye into a large pot and heat it. The dye does not affect metals, so rest assured that your cookware will not get stained.
For the SDN Resin Dye that I used, the back of the bottle indicated a 1:20 dye to water ratio. I initially attempted with 1:20, but the effect was patchy and light, even after an extended dye time.
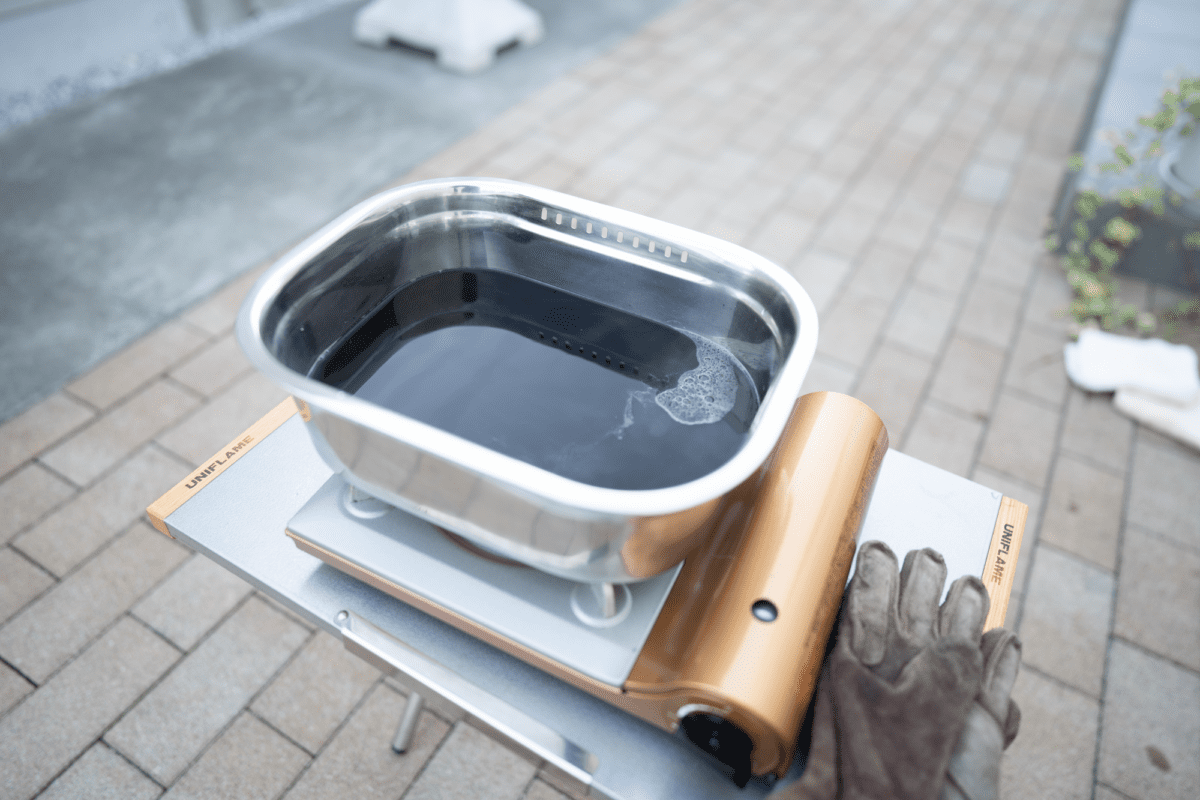
What I did was dyed each part, a total of four halves for two tools, one at a time. I would add a bottle of dye if the dye didn't seem to be penetrating. At times, I would top up with some water to make sure the casing was fully submerged. This turned out great because the color would be deep, and the dye would stay on longer. In the end, I used a total of five bottles (70ml each) and about two liters+ of water for about 1:6 ratio.
I designed a thing.
I found a 100 year old company that would create these heirloom quality canisters for me. They are handmade and will keep your tea leaves, coffee beans or anything that you need dry for years to come.
or read review
The more concentrated the solution and the longer you dye it for, the deeper the color and harder it is for the dye to come off.
On the back of my bottle, it states the temperature and time for each type of plastic. I had no idea what type of plastic Makita uses and didn't have a thermometer, so I just kept it on the lowest heat and checked on it every 20 minutes.
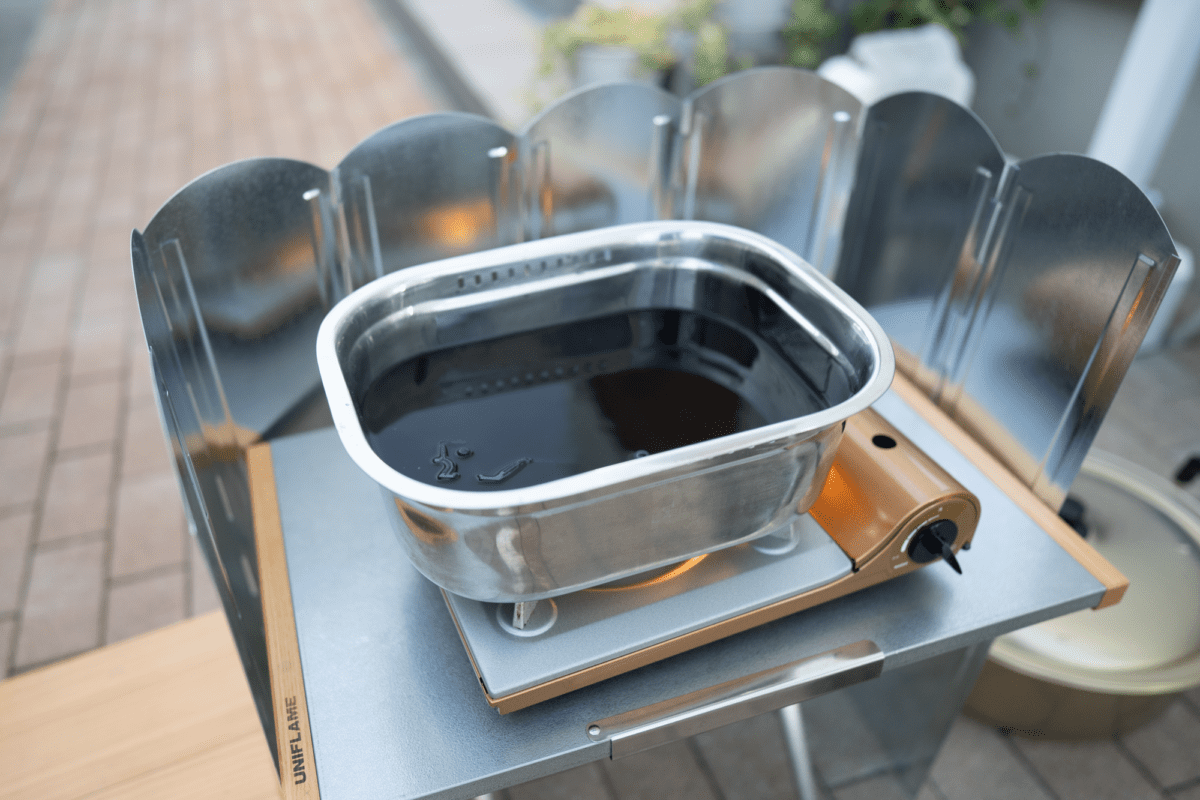
If you turn up the heat too high, the plastic will turn soft or melt.
Additionally, if the plastic touches the bottom of the pan, it will also melt where it comes in contact. This actually happened to one of the pieces.
If you don't have a thermometer like I didn't, I suggest heating the water till you start seeing smoke and keeping it at that temperature by lowering the heat. Flip the plastic every five minutes for an even dye and prevent it from getting burned.
During this process, the smell of the dye can be pretty toxic, so ensure you are in a well-ventilated location. I sat a few meters away with a mask so I could avoid the fumes. I used disposable chopsticks to lift it at intervals to monitor the progress.
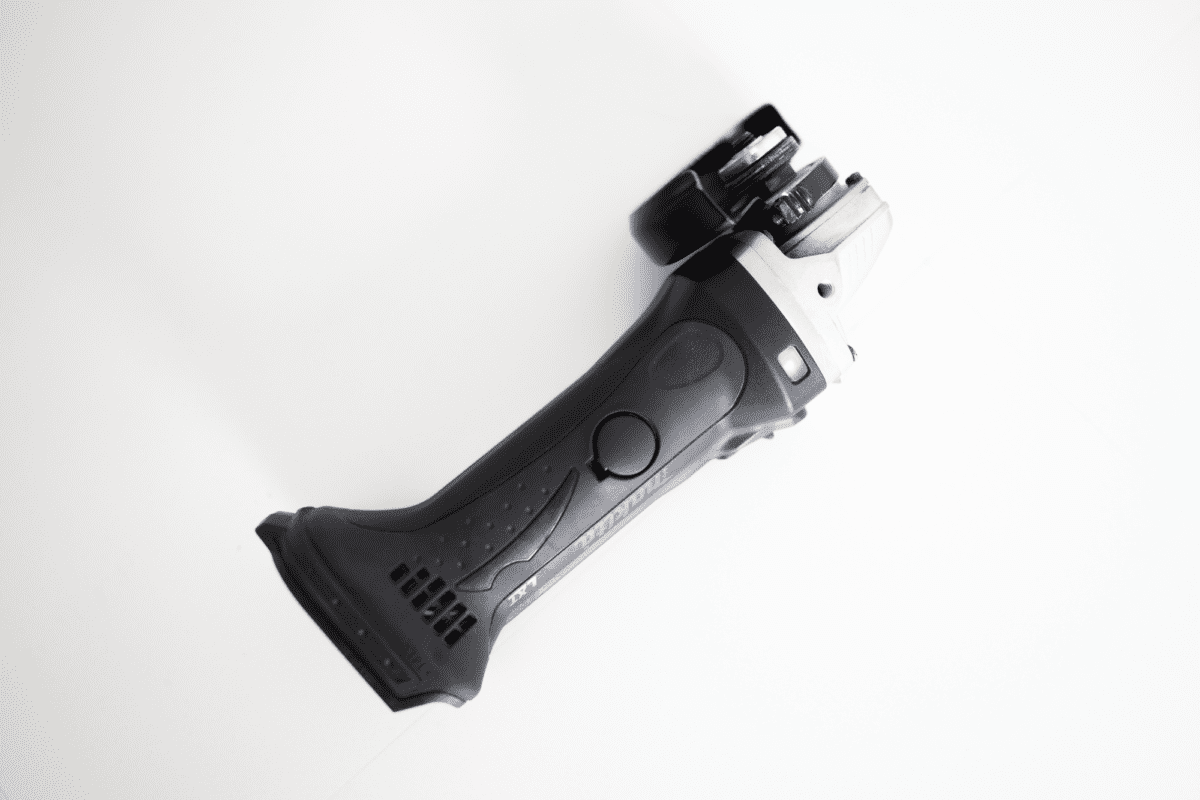
Step 3: Dry it
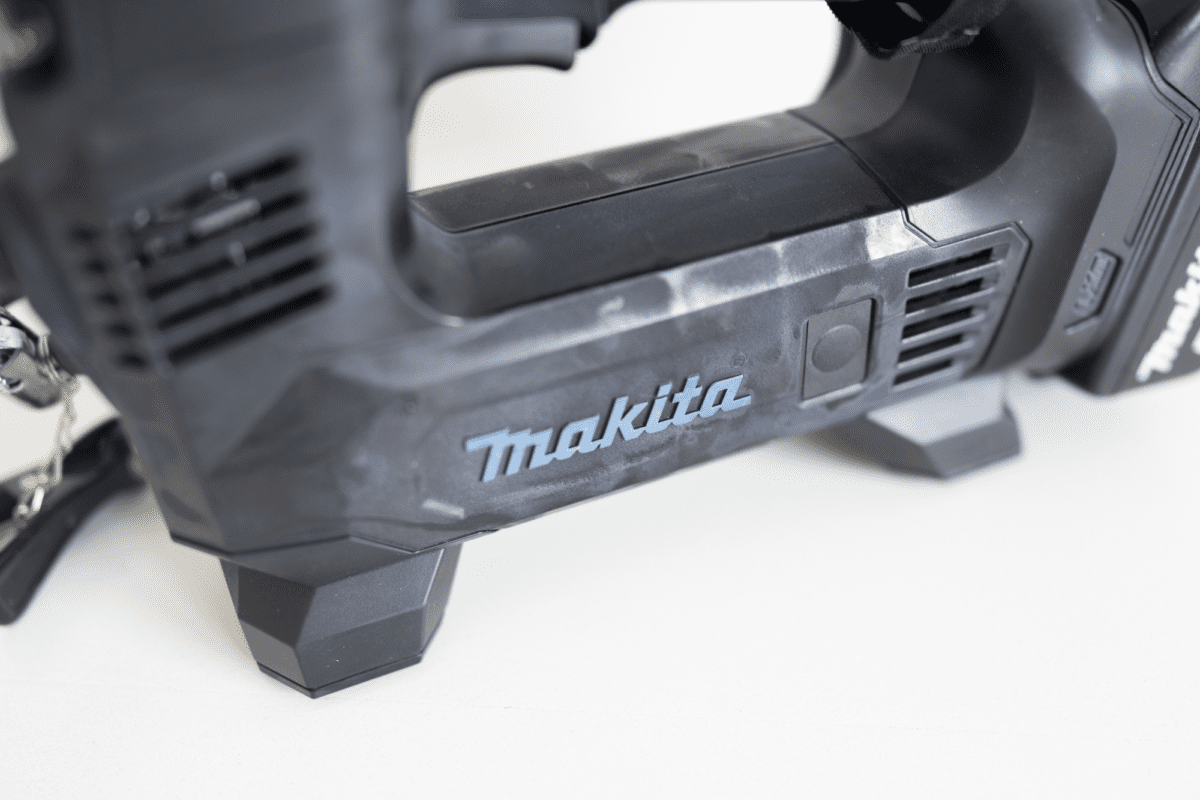
Fish it out of the solution with a disposable chopstick, metal tongs, or heat-resistant work gloves. Once they cool down, give it a quick rinse to flush away residue dye. Confirm if the plastic has been evenly coated with the new color. Some parts, like buttons, might take longer to dye. Other parts, like the white Makita logo, will probably discolor to a purplish tint.
For me, I've managed to evenly dye all but some patches of plastic that seemed to resist the dye no matter how long I dyed it for. However, those parts were negligible.
You can even keep the dye solution in a plastic bottle once it cools down for future projects.
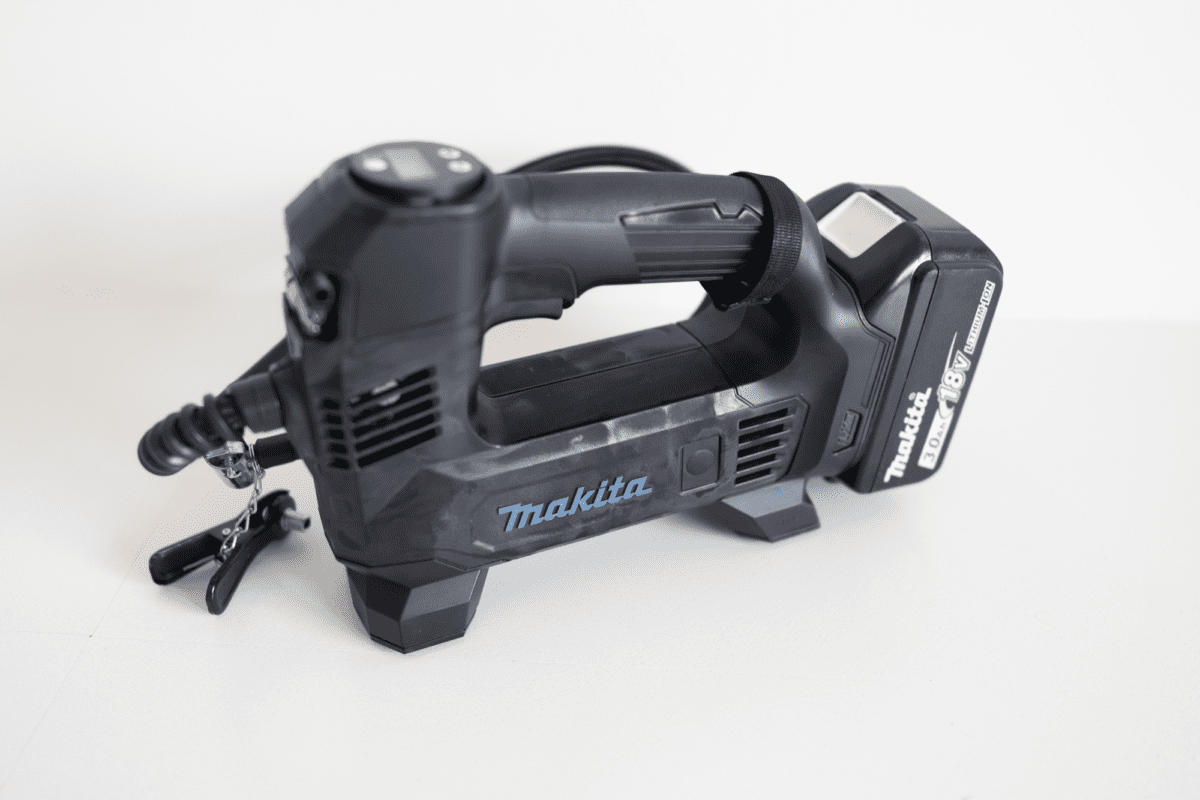
Step 4: Reassemble it
Once you make sure the plastic is completely dry, put all the components and screws back together. That photo of the internal components you took in Step 1 will make your life a lot easier.
Put in the Makita battery, make sure you don't have any attachments like a cutting wheel attached, and give it a test to make sure everything is working.
Conclusion
There you have it; it wasn't an easy task, but not so hard that even an amateur, like myself could do it.
Overall, I'm very satisfied with the result and was able to color-coordinate my tools. If you have some time and a healthy amount of OCD, I recommend you give it a shot.
Additional Images
Tagged diy guide makita minimalism